
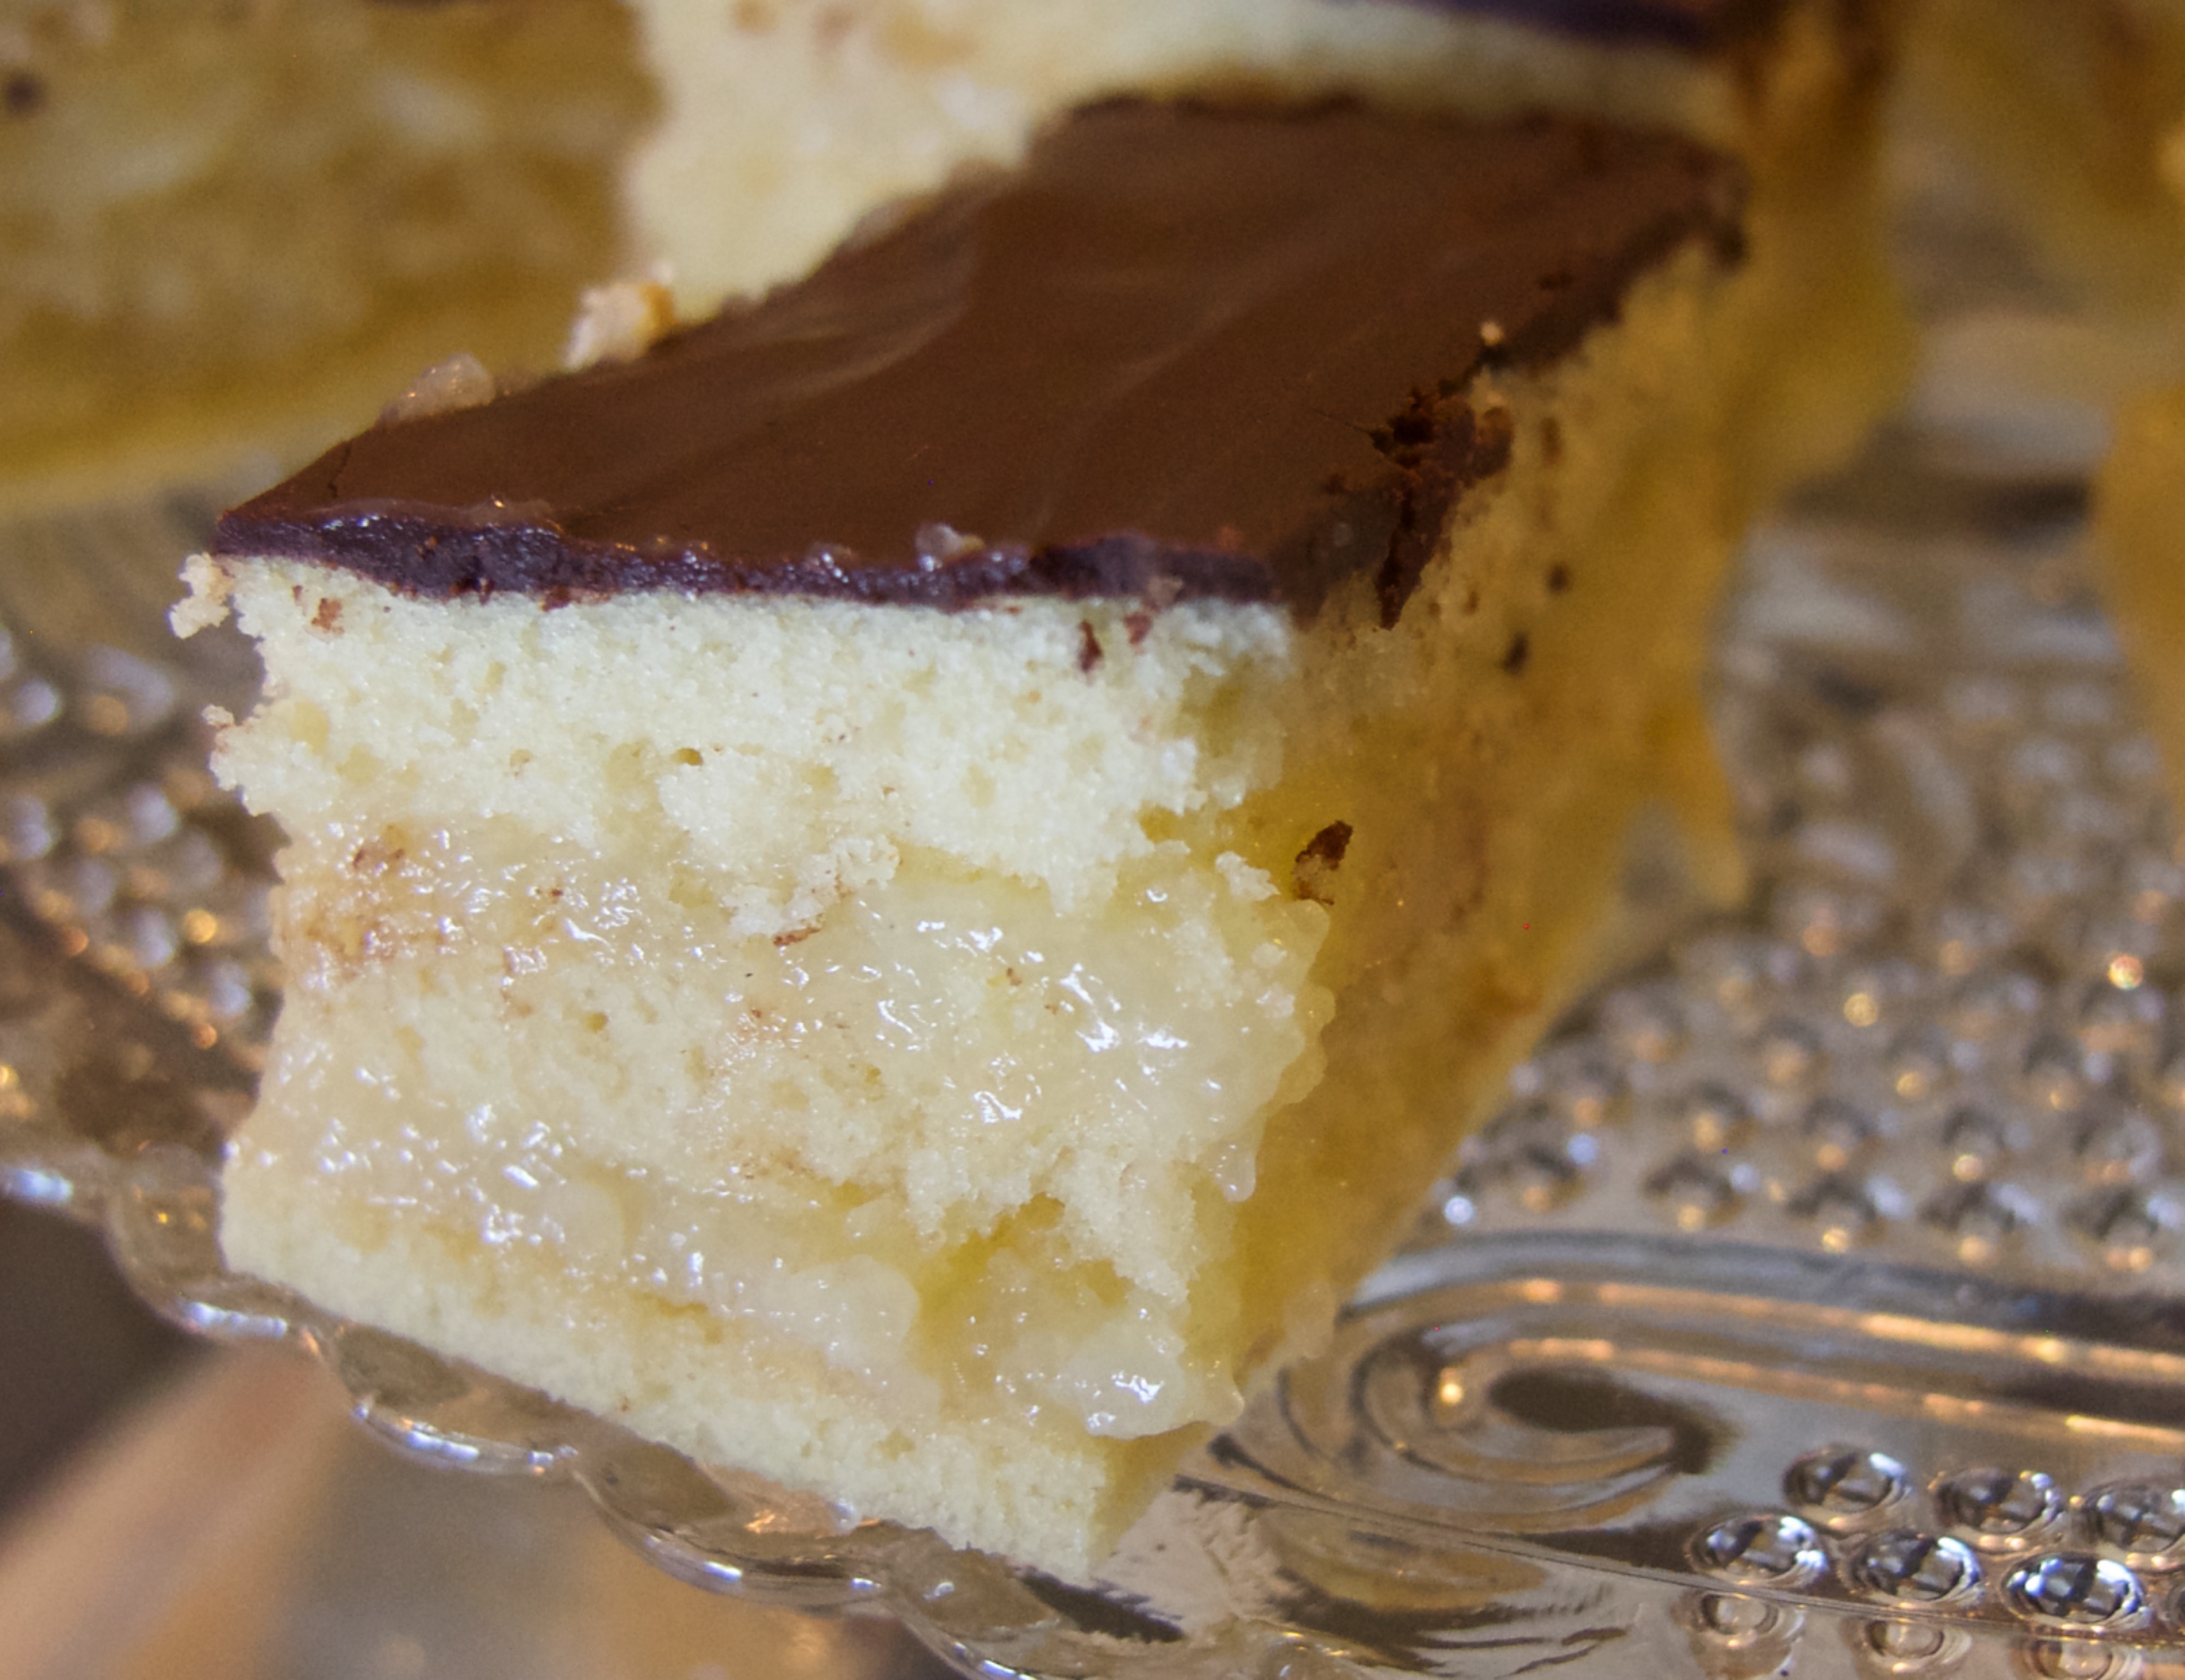
 These little layered bars are soft, sweet, creamy crowd pleasers. You have to make them a day ahead to give them time to soften, which makes them perfect for Sunday afternoon tea (or, if you are North American, whatever you call that meal at 3pm that consists entirely of cake).
It might sound like an odd creation, filling dense, thin sheets of dough with breakfast porridge, but trust me on this one: it will be worth your while.
My mom originally got this recipe from a colleague of hers, and it became an instant family favourite. Long after I moved to a different country, I still requested that she make these every time I visited, until one day I realised that I could ask her for the recipe.
While making this takes a few steps and produces a sink full of dirty bowls, it’s a fairly straightforward follow-the-steps-and-you’ll-succeed kind of recipe. It doesn’t take very long either, about 90 minutes start to finish, two hours on a slow day.
The version here has a chocolate glaze on top, but for those of you who are not chocolate people – I hear you weirdos exist – I’ll mention that there’s a second version where the chocolate glaze is replaced with a dusting of icing sugar. My mom used to make both kinds, and the plain one is tasty too, but we kids would only touch it after the chocolate one was gone. After a while she switched to all chocolate, and that’s what I do too.
Ingredients:
Dough:
- 450 g (3 + 2/3 cups) flour
- 1/2 tsp baking soda
- 45 ml (3 Tbs) milk
- 30 g (2 Tbs) butter
- 30 ml (2 Tbs) honey
- 1 large egg
- 150 g (2/3 cup) sugar
Filling:
- 500ml (2 cups + 1 Tbs) milk
- 60 ml (4 Tbs) semolina (cream of wheat) cereal
- 150 g (1 stick + 3 Tbs) butter
- 200 g (1 + 2/3 cups) icing sugar, sifted
Topping:
- 100 g (1 bar) high quality chocolate (I say >70% cocoa content)
- 50 g (2 1/2 Tbs) butter, at room temperature
Method:
Set up a floured surface and rolling pin to roll out dough later. Don’t skimp on the flour: the dough is sticky! Line a large baking sheet with parchment paper (mine is 32×38 cm, or 12.5’x15′). Pre-heat the oven to 180C/ 350F.
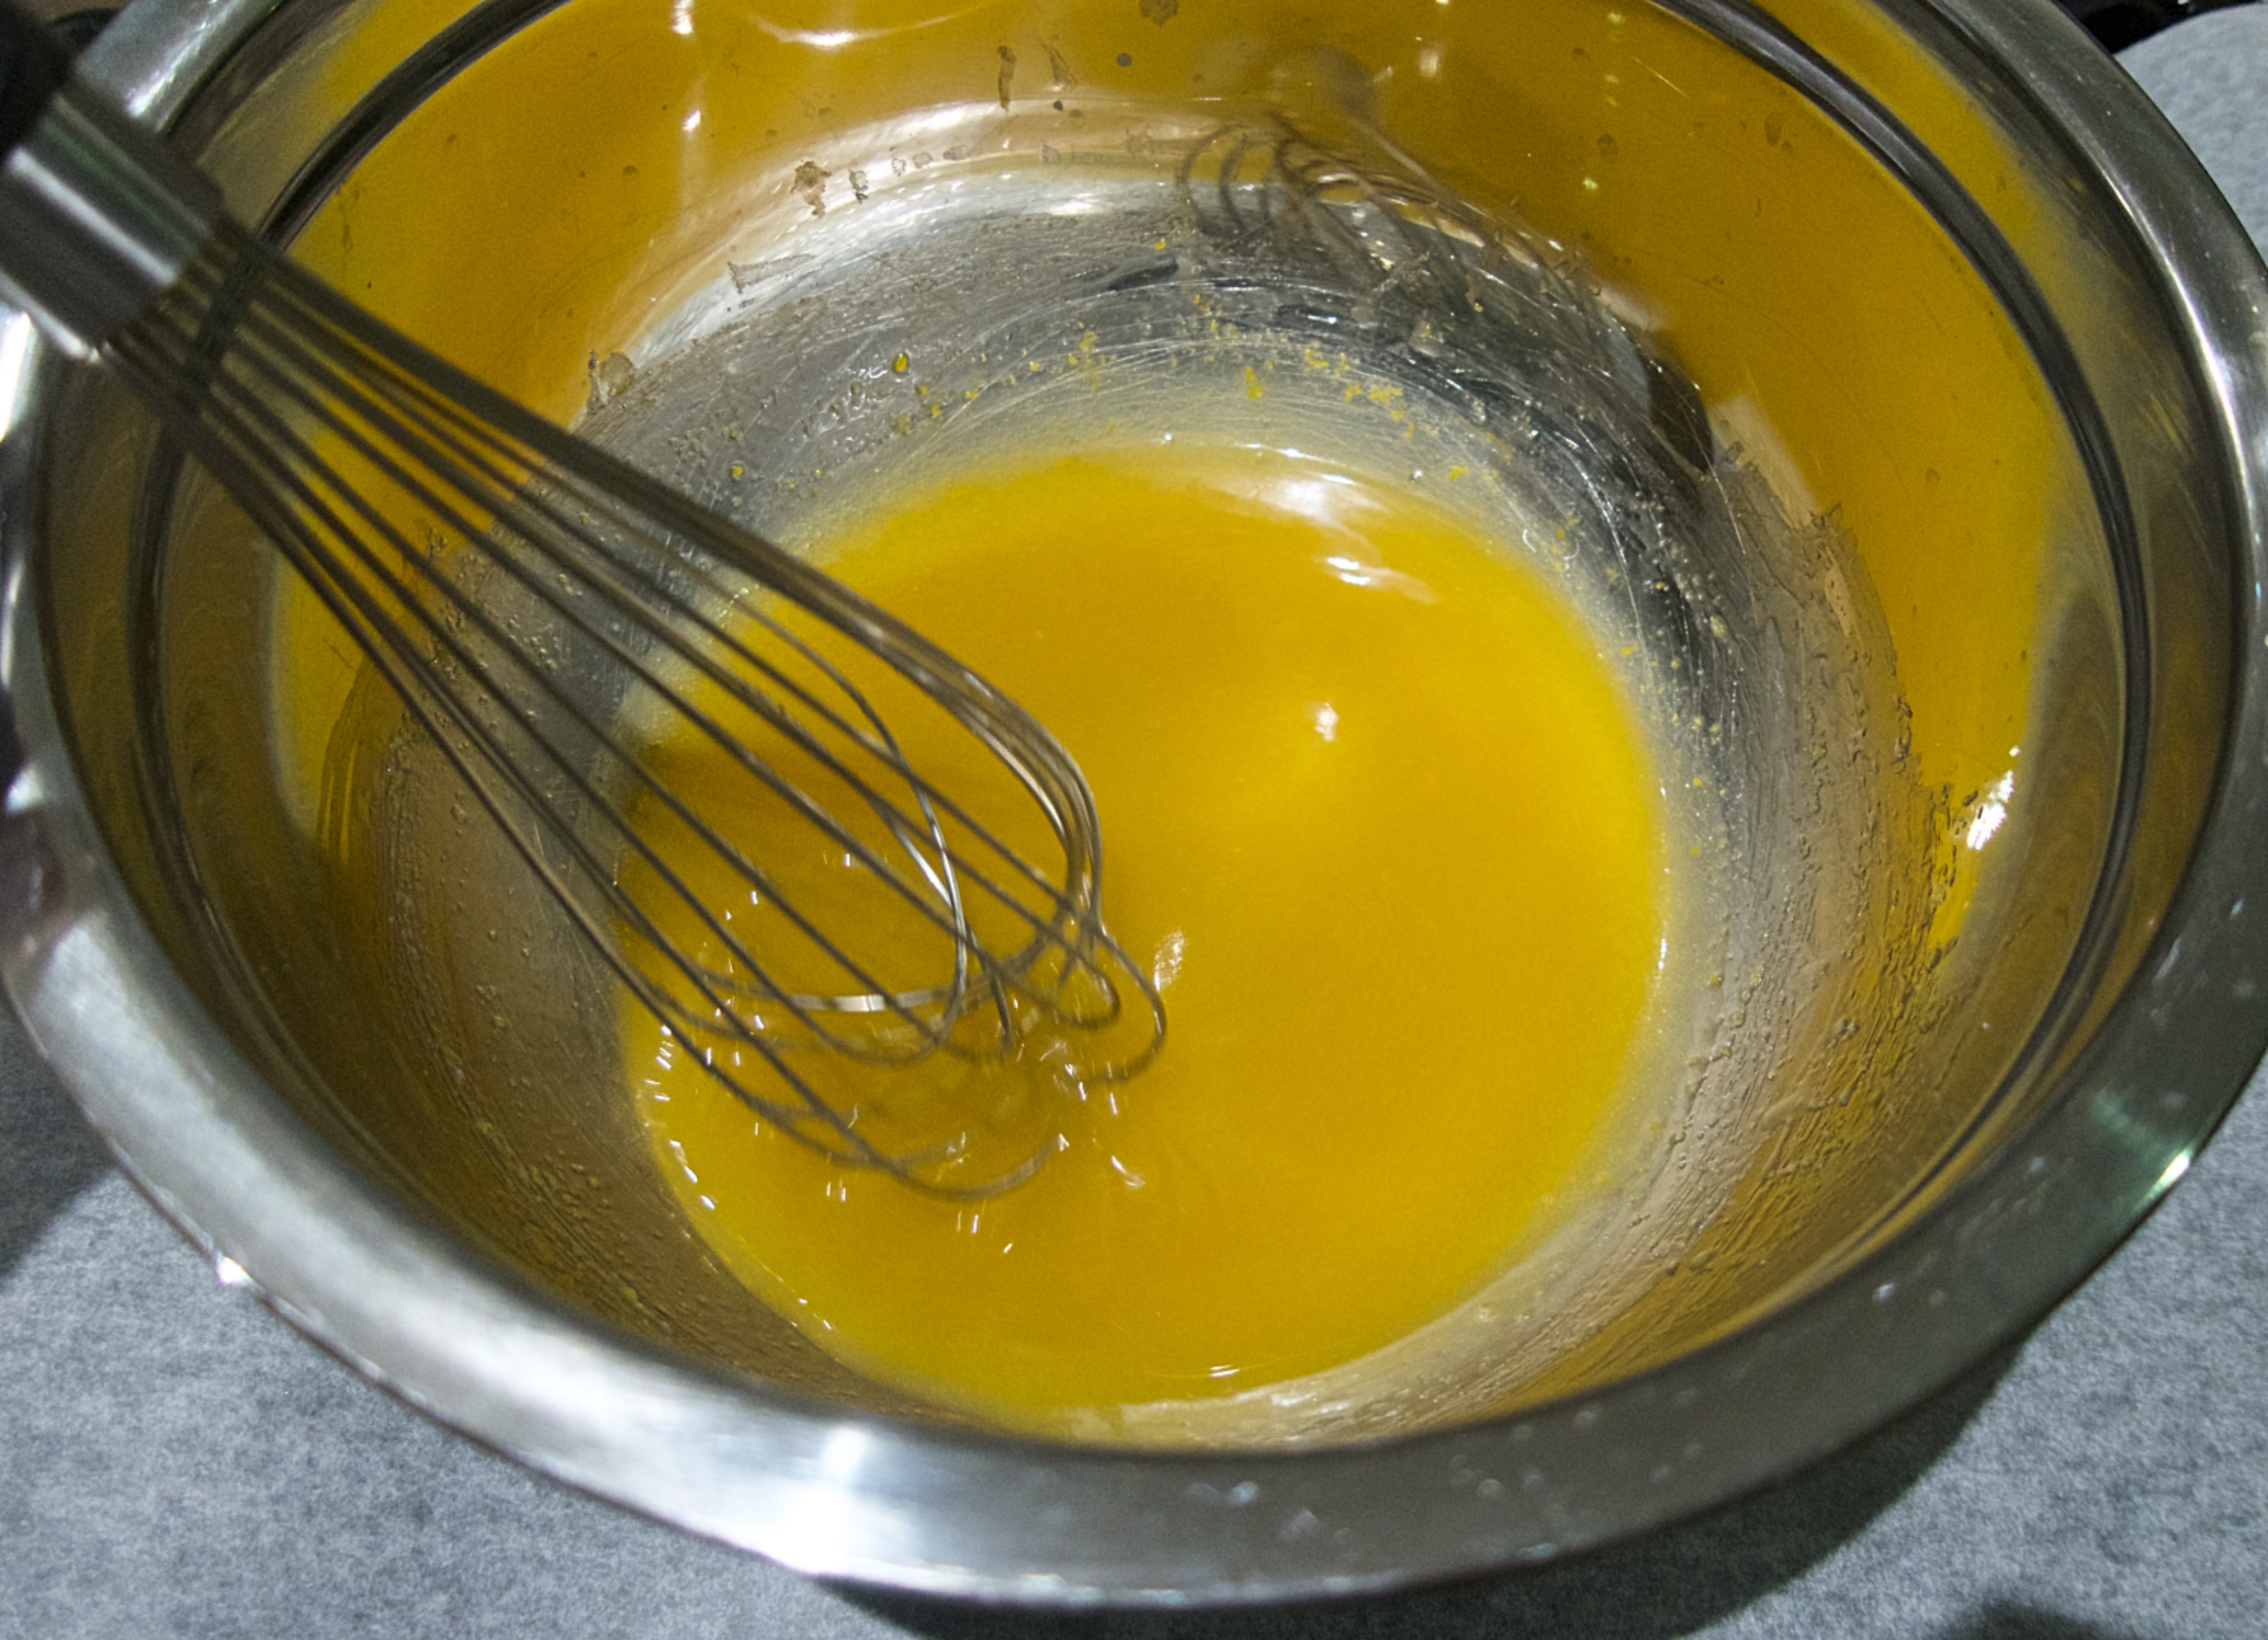
To make the dough, start heating a small amount (couple of inches) of water in a medium pot. Measure and mix the flour and baking soda in a medium bowl. Measure the rest of the dough ingredients into a larger bowl that fits on top of the pot without touching the water. When the water starts to simmer, reduce heat to minimum, and place the wet ingredient bowl over the steam. Stir with a whisk while heating for 5 minutes. At this point it should be a smooth, yellow liquid:
 Turn off heat, and temporarily remove the bowl from over the pot. Add the flour mixture all at once, and knead with your hand for a minute until it becomes a cohesive, if slightly sticky, dough. Form the dough into three equal size balls, and dust with flour to keep from sticking:
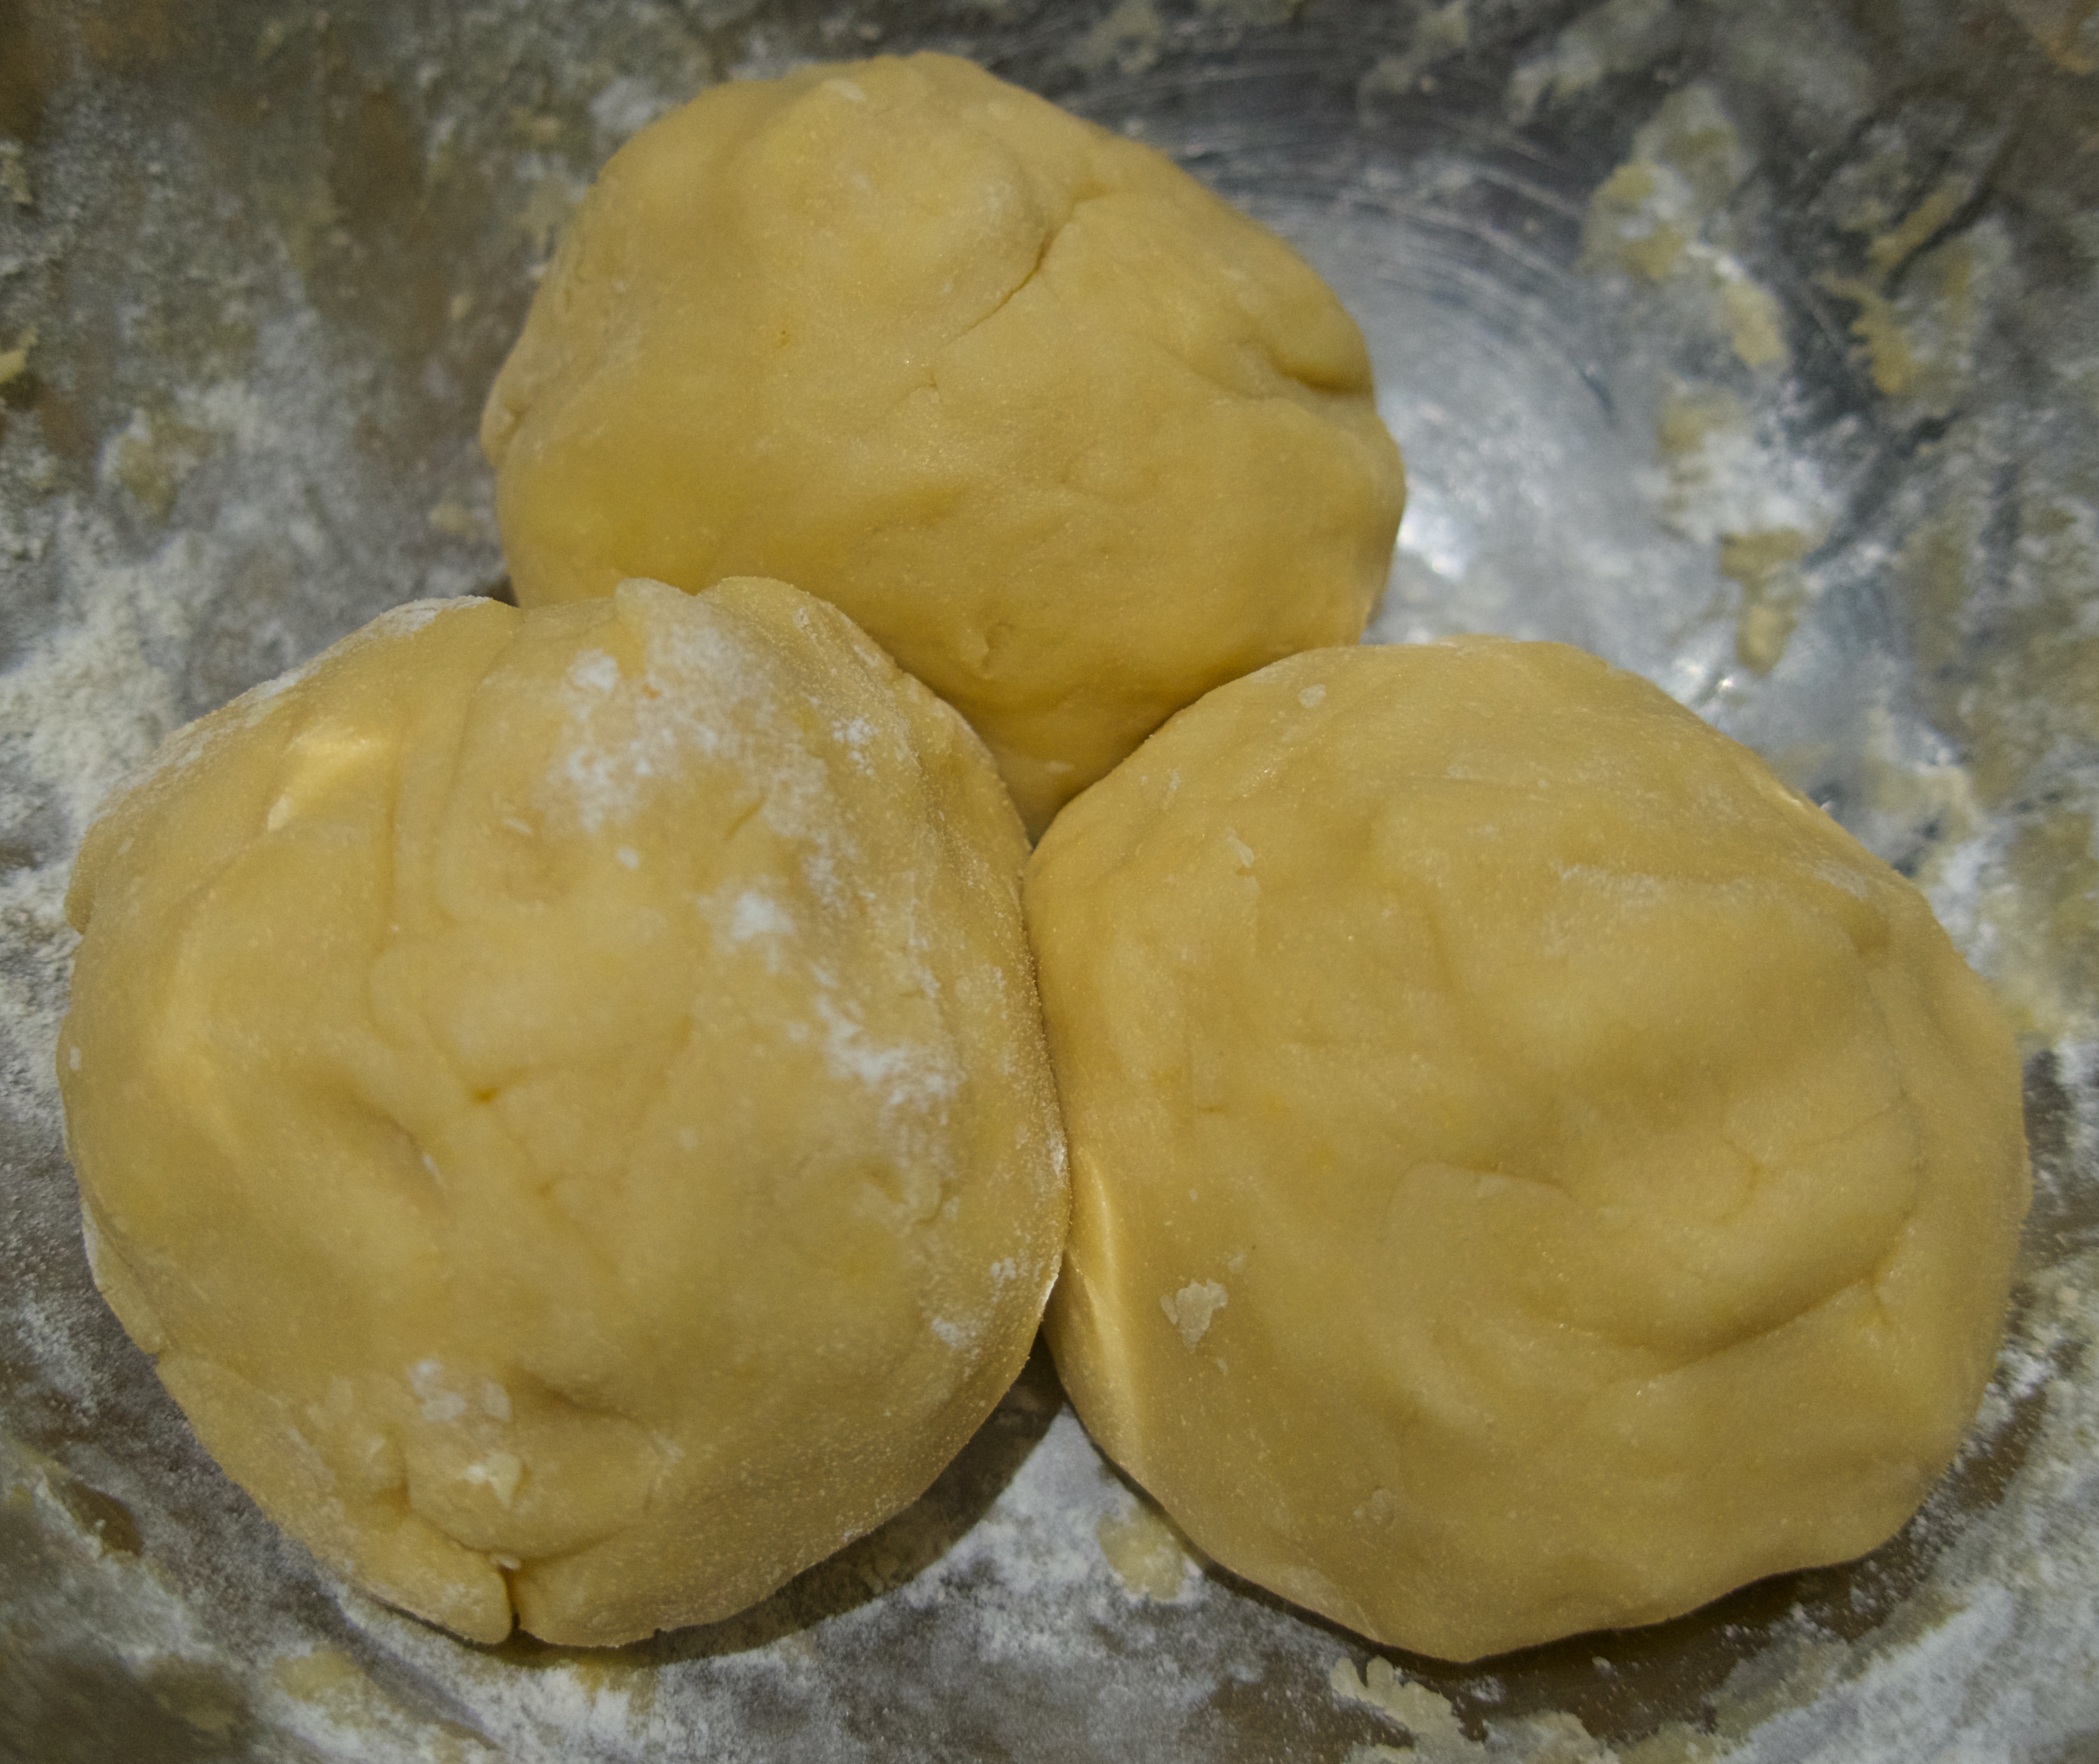 At this point you can’t dawdle: the dough hardens as it cools, so you need to start rolling and baking layers like a machine. No need to rush, but you can’t take a break. Place two of the balls back over the hot water, but with the heat off (you don’t want to cook them). Cover with a lid or plate. Start rolling out the third ball: aim for a nice, evenly thin rectangle to fit your baking sheet, but you can cut and paste if it doesn’t come out perfectly. It helps if you form the dough into a rectangular prism before rolling, and if you roll towards the four corners fairly often. Use flour under the dough and on the pin to avoid sticking.
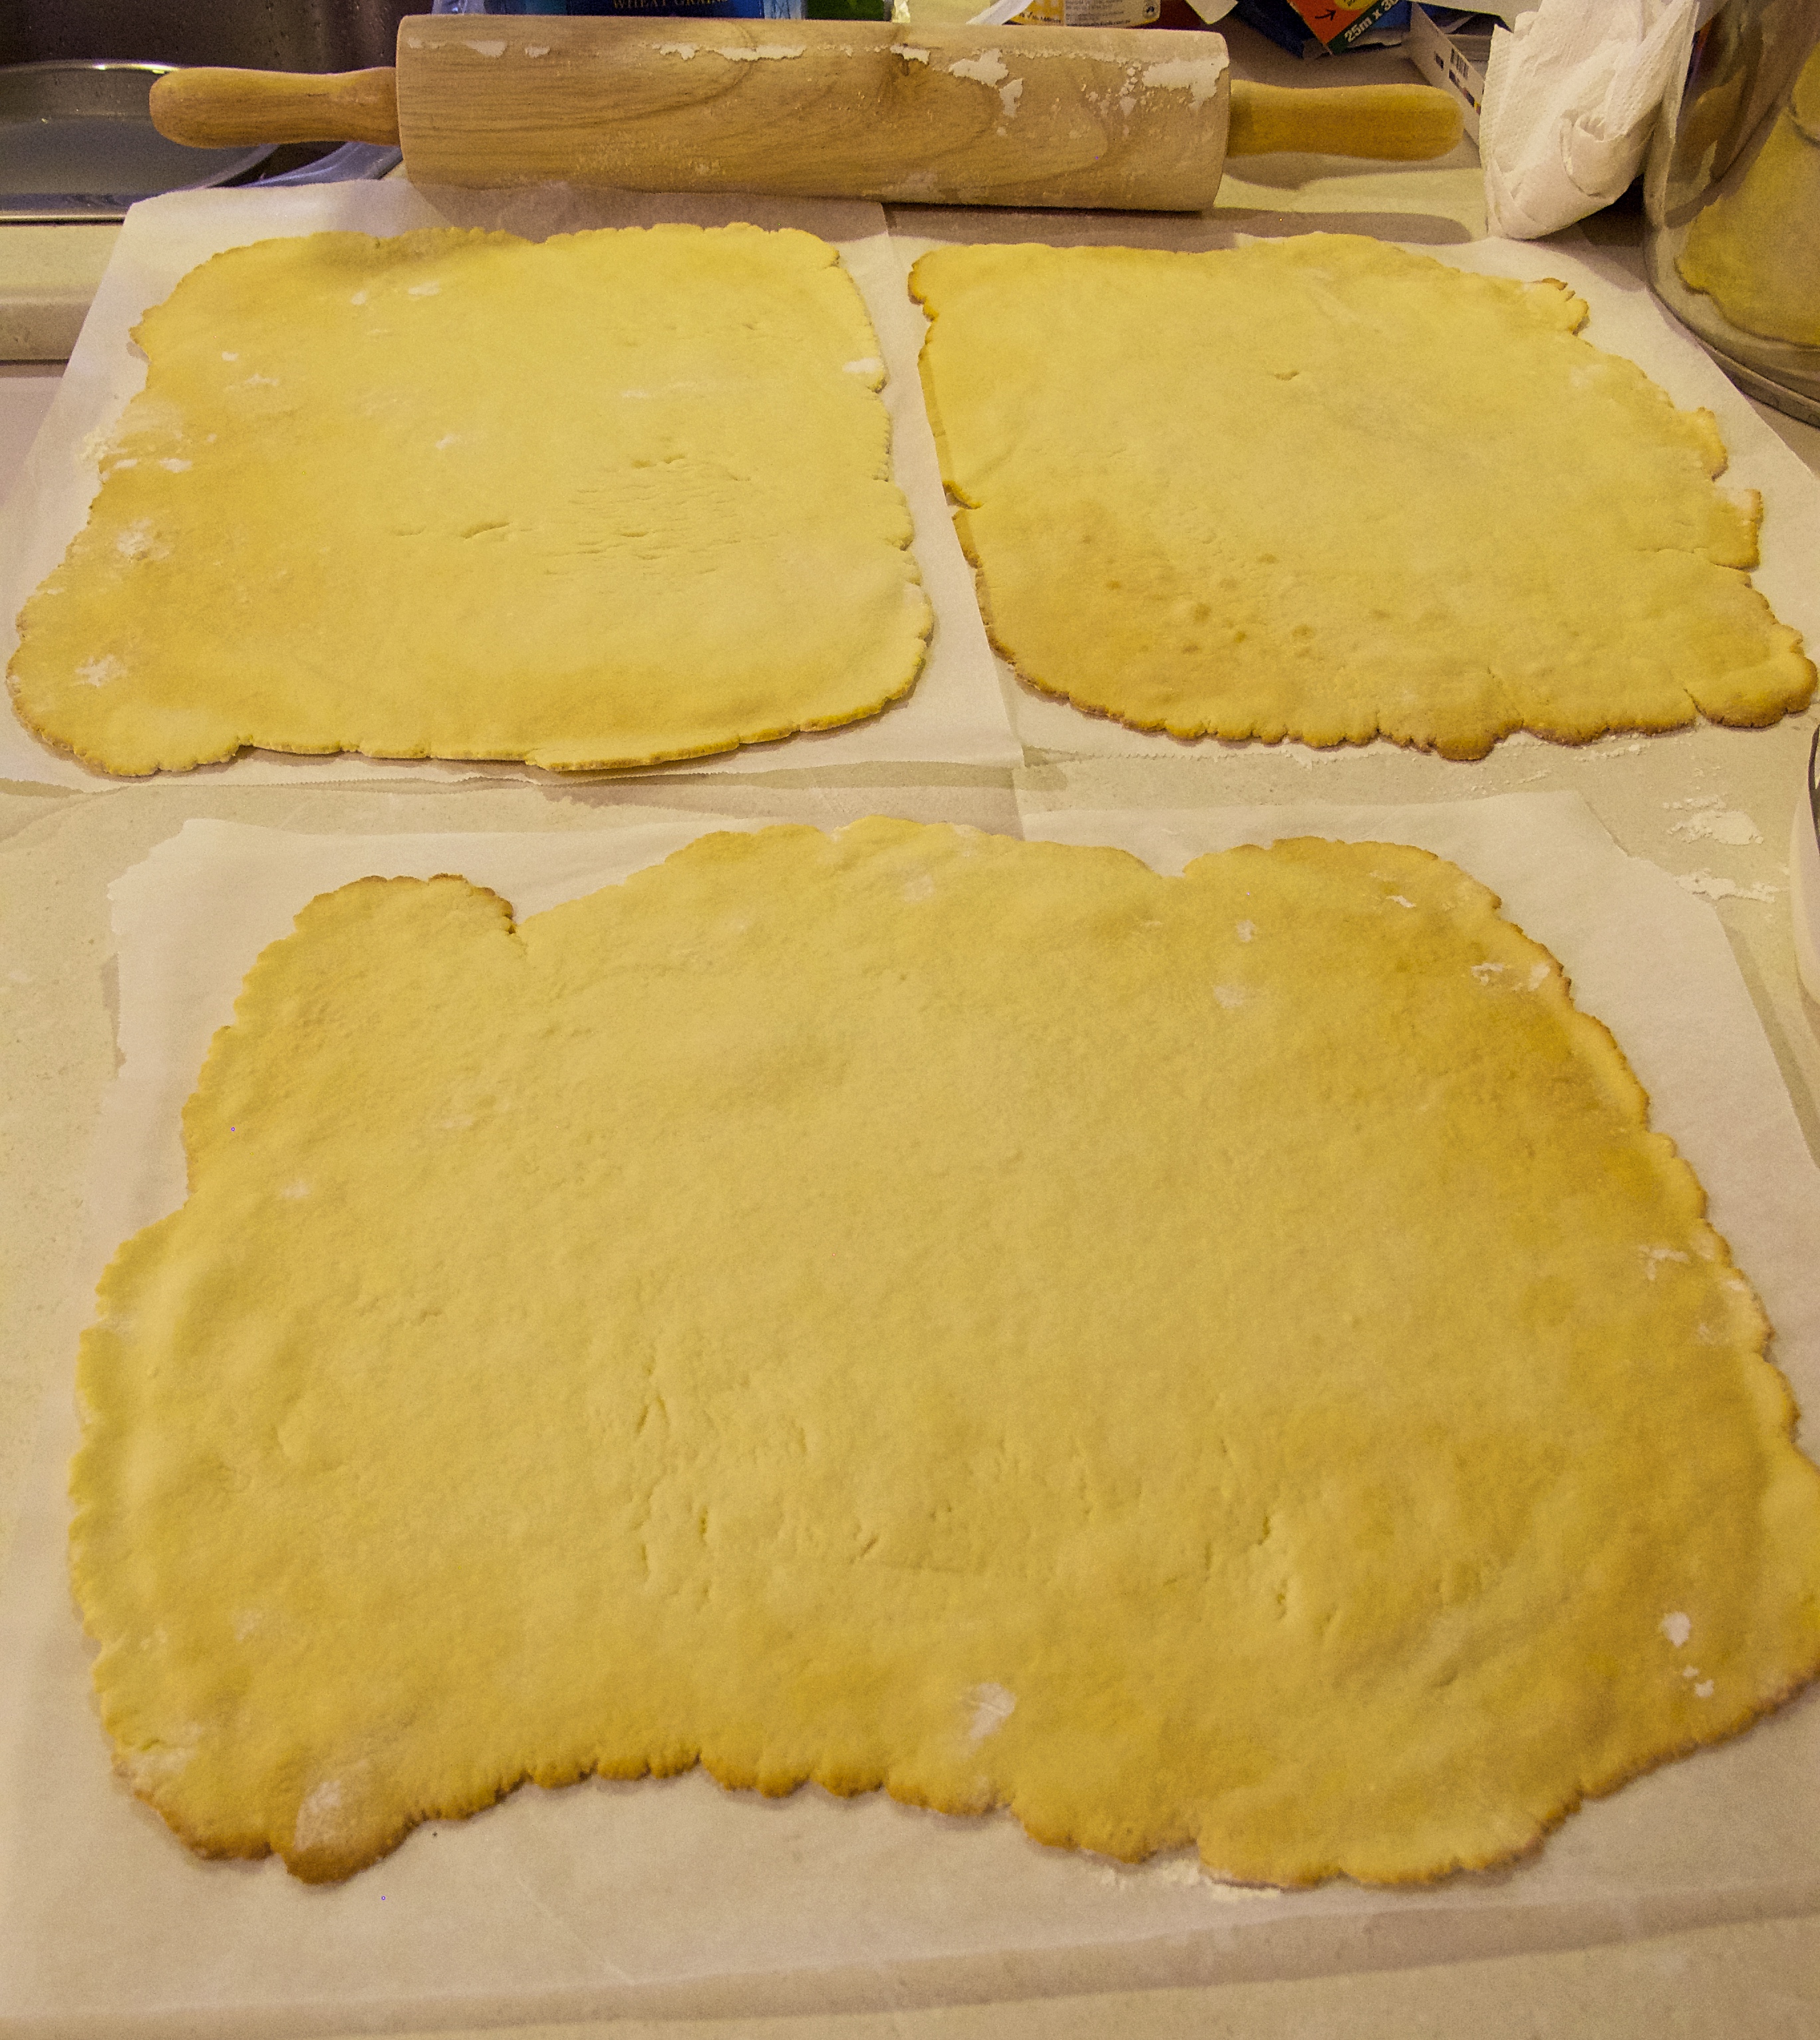
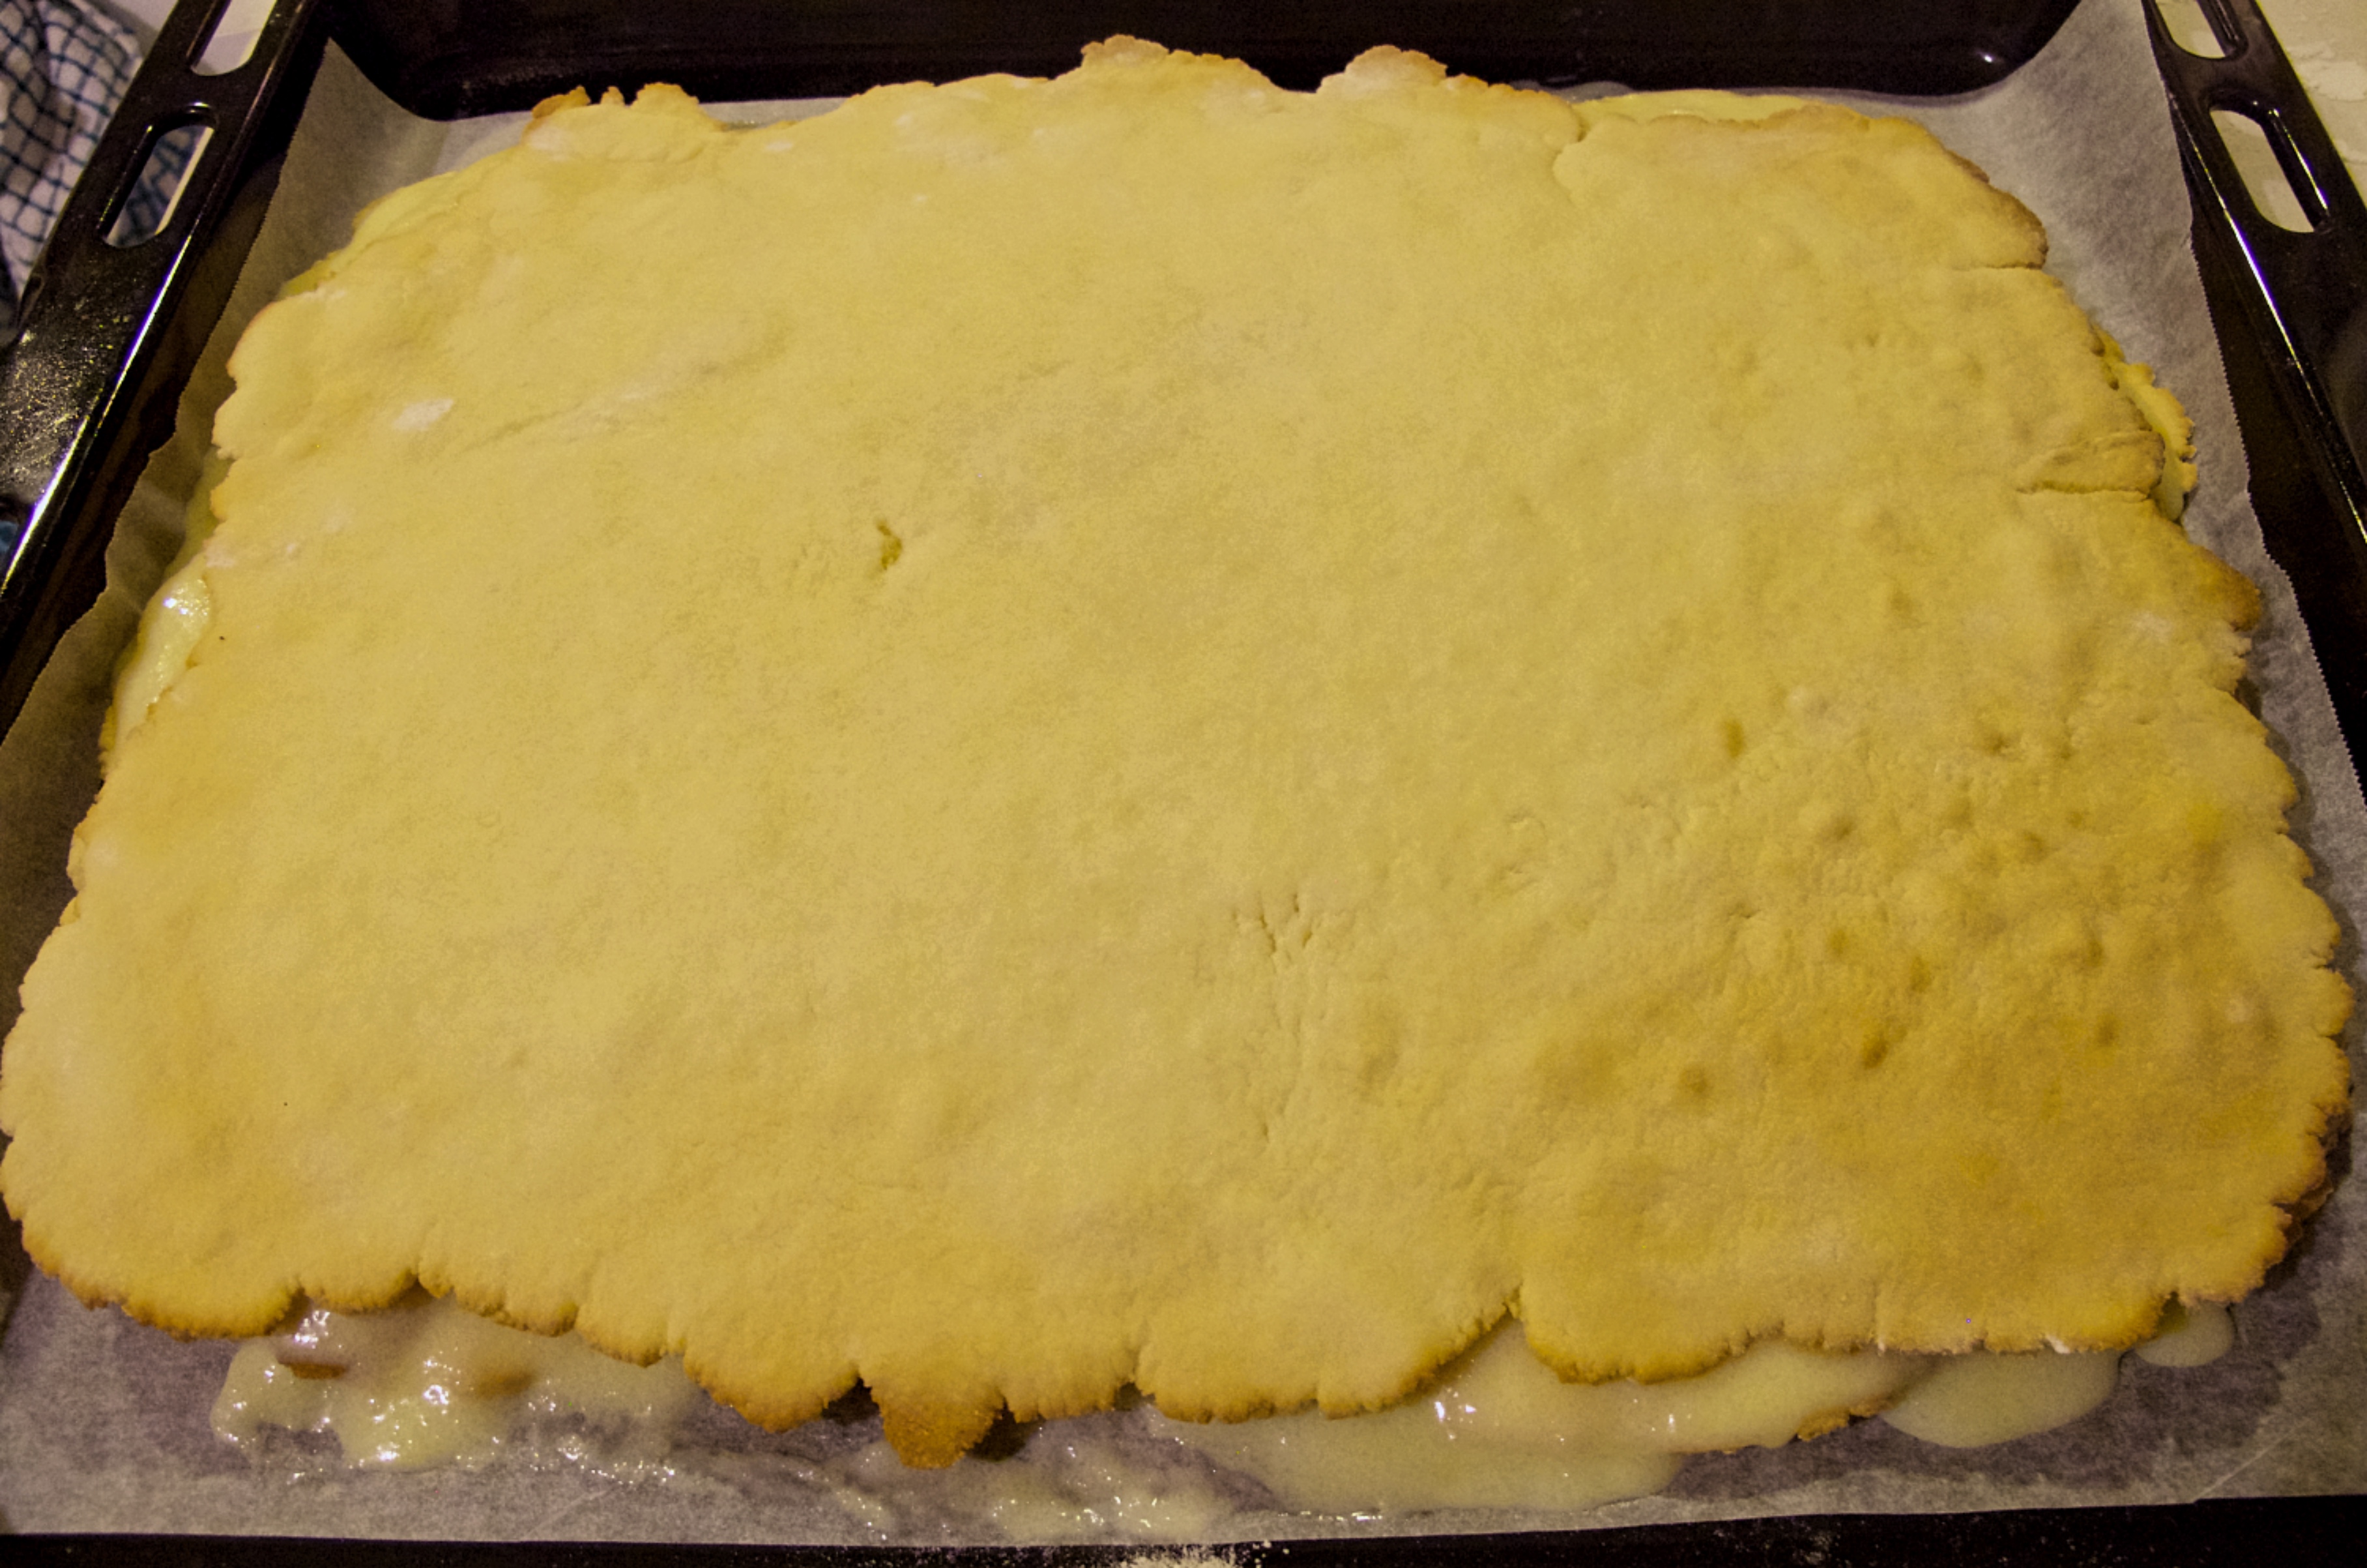
After rolling, wind the rolled dough around the rolling pin, and transfer onto the baking sheet by unwinding. Bake in pre-heated oven for 2 minutes and 30 seconds. Set a stopwatch: it bakes fast, and burns fast. When done, the edges are just barely starting to brown, and the middle has a faint hint of golden colour but not browned. Use the parchment paper to lift the layer off of the baking sheet to cool. Repeat with all three dough balls:
 When all three layers are done, make the filling. Cream the butter and icing sugar together in a mixer with the paddle attachment, first on low, then medium speed until smooth. Heat the milk in a small pot until barely simmering. Turn heat down to lowest and, stirring continuously with a balloon whisk, add the semolina all at once. Keep stirring until the cereal thickens, then continue stirring for about two minutes to cook the semolina through.
Take the semolina porridge off the heat, and keep stirring to cool it down: you can speed this up by filling the sink or a large bowl with cold water and dunking the bottom of the pot into it as you stir. Don’t leave the porridge to cool on its own: a skin will form on top. Once it’s no longer steaming, add it to the butter-sugar mixture, and beat with the paddle attachment on slow, then medium until smooth. If it’s very liquidy, leave it at room temperature to cool for a few minutes: it will thicken.
To assemble the layers, line your cookie sheet with parchment paper. If your dough layers came out a little uneven, make sure you use the thinnest, softest one on top, and the thickest, hardest one in the middle. Lift the bottom dough layer into the cookie sheet, and spread half of the filling over it, all the way to the edges. Top with the middle sheet, then the other half of the filling, then the top sheet: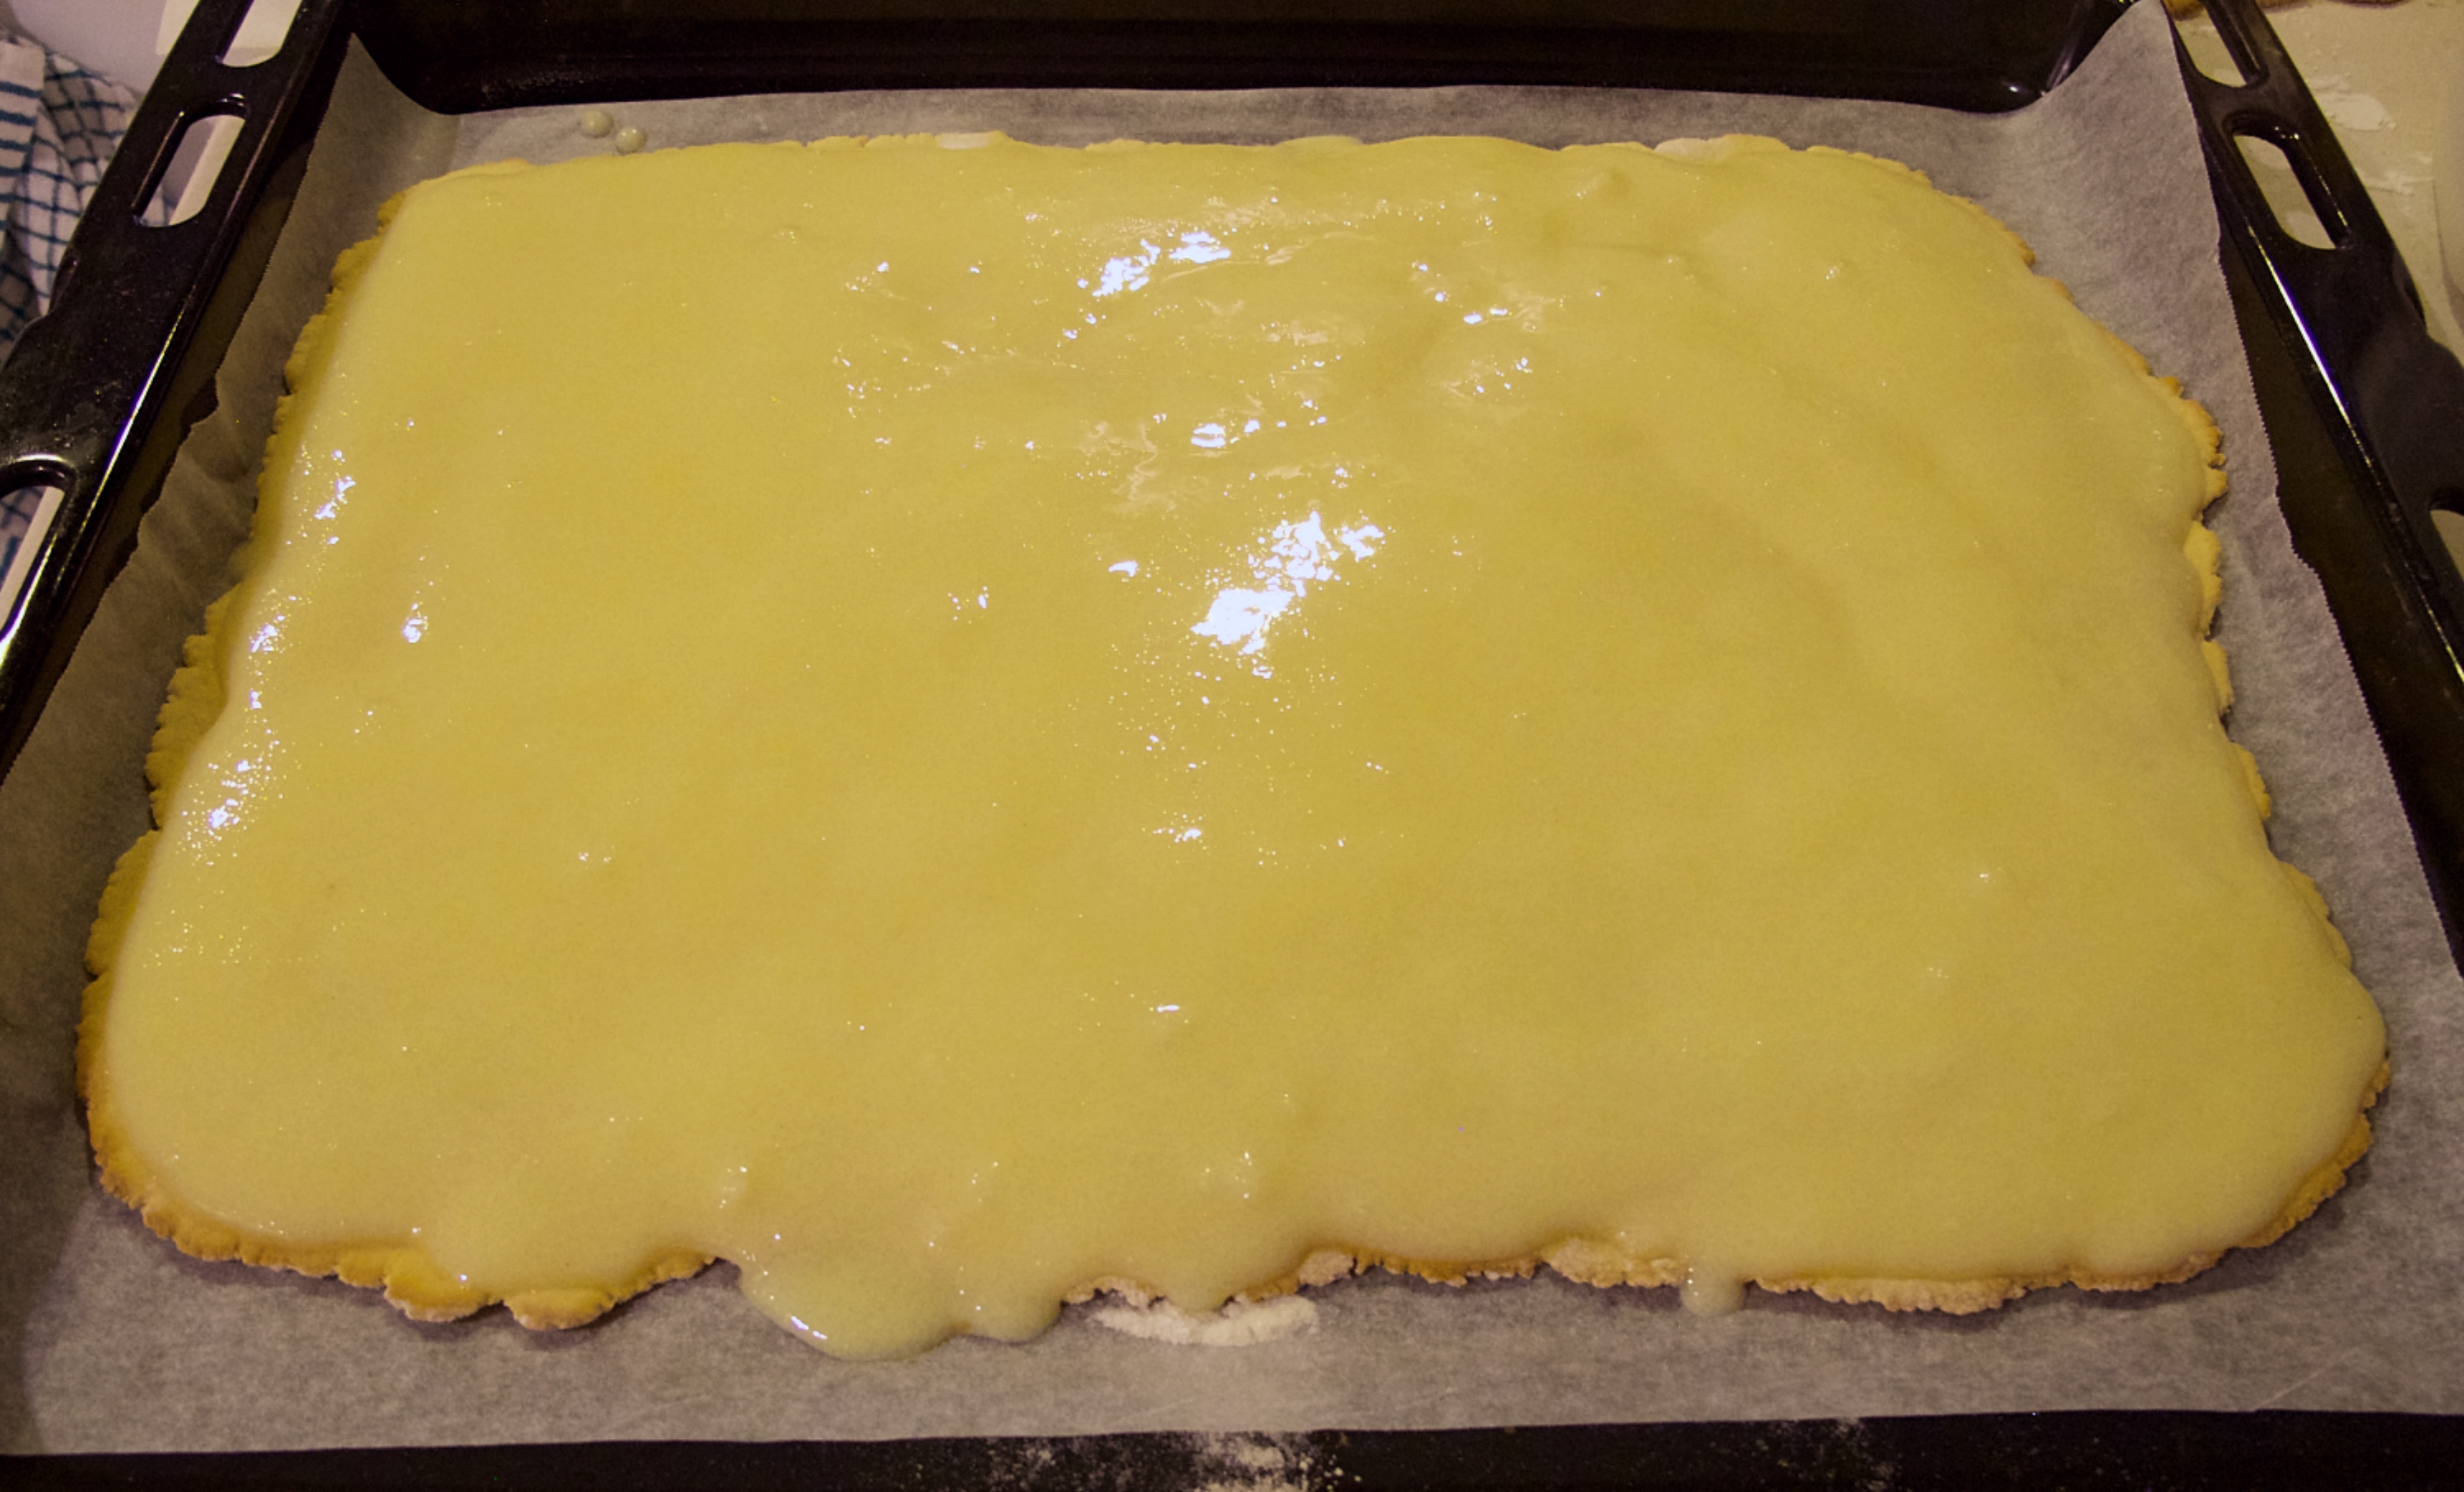
 For the chocolate glaze, melt the chocolate in a small ceramic bowl in the microwave, at 50% power in 30 second bursts. When it’s close to done, reduce to 20 seconds at a time: overheating chocolate is bad. When melted, add the butter, and mix with a spoon until smooth. Spread over the top layer.
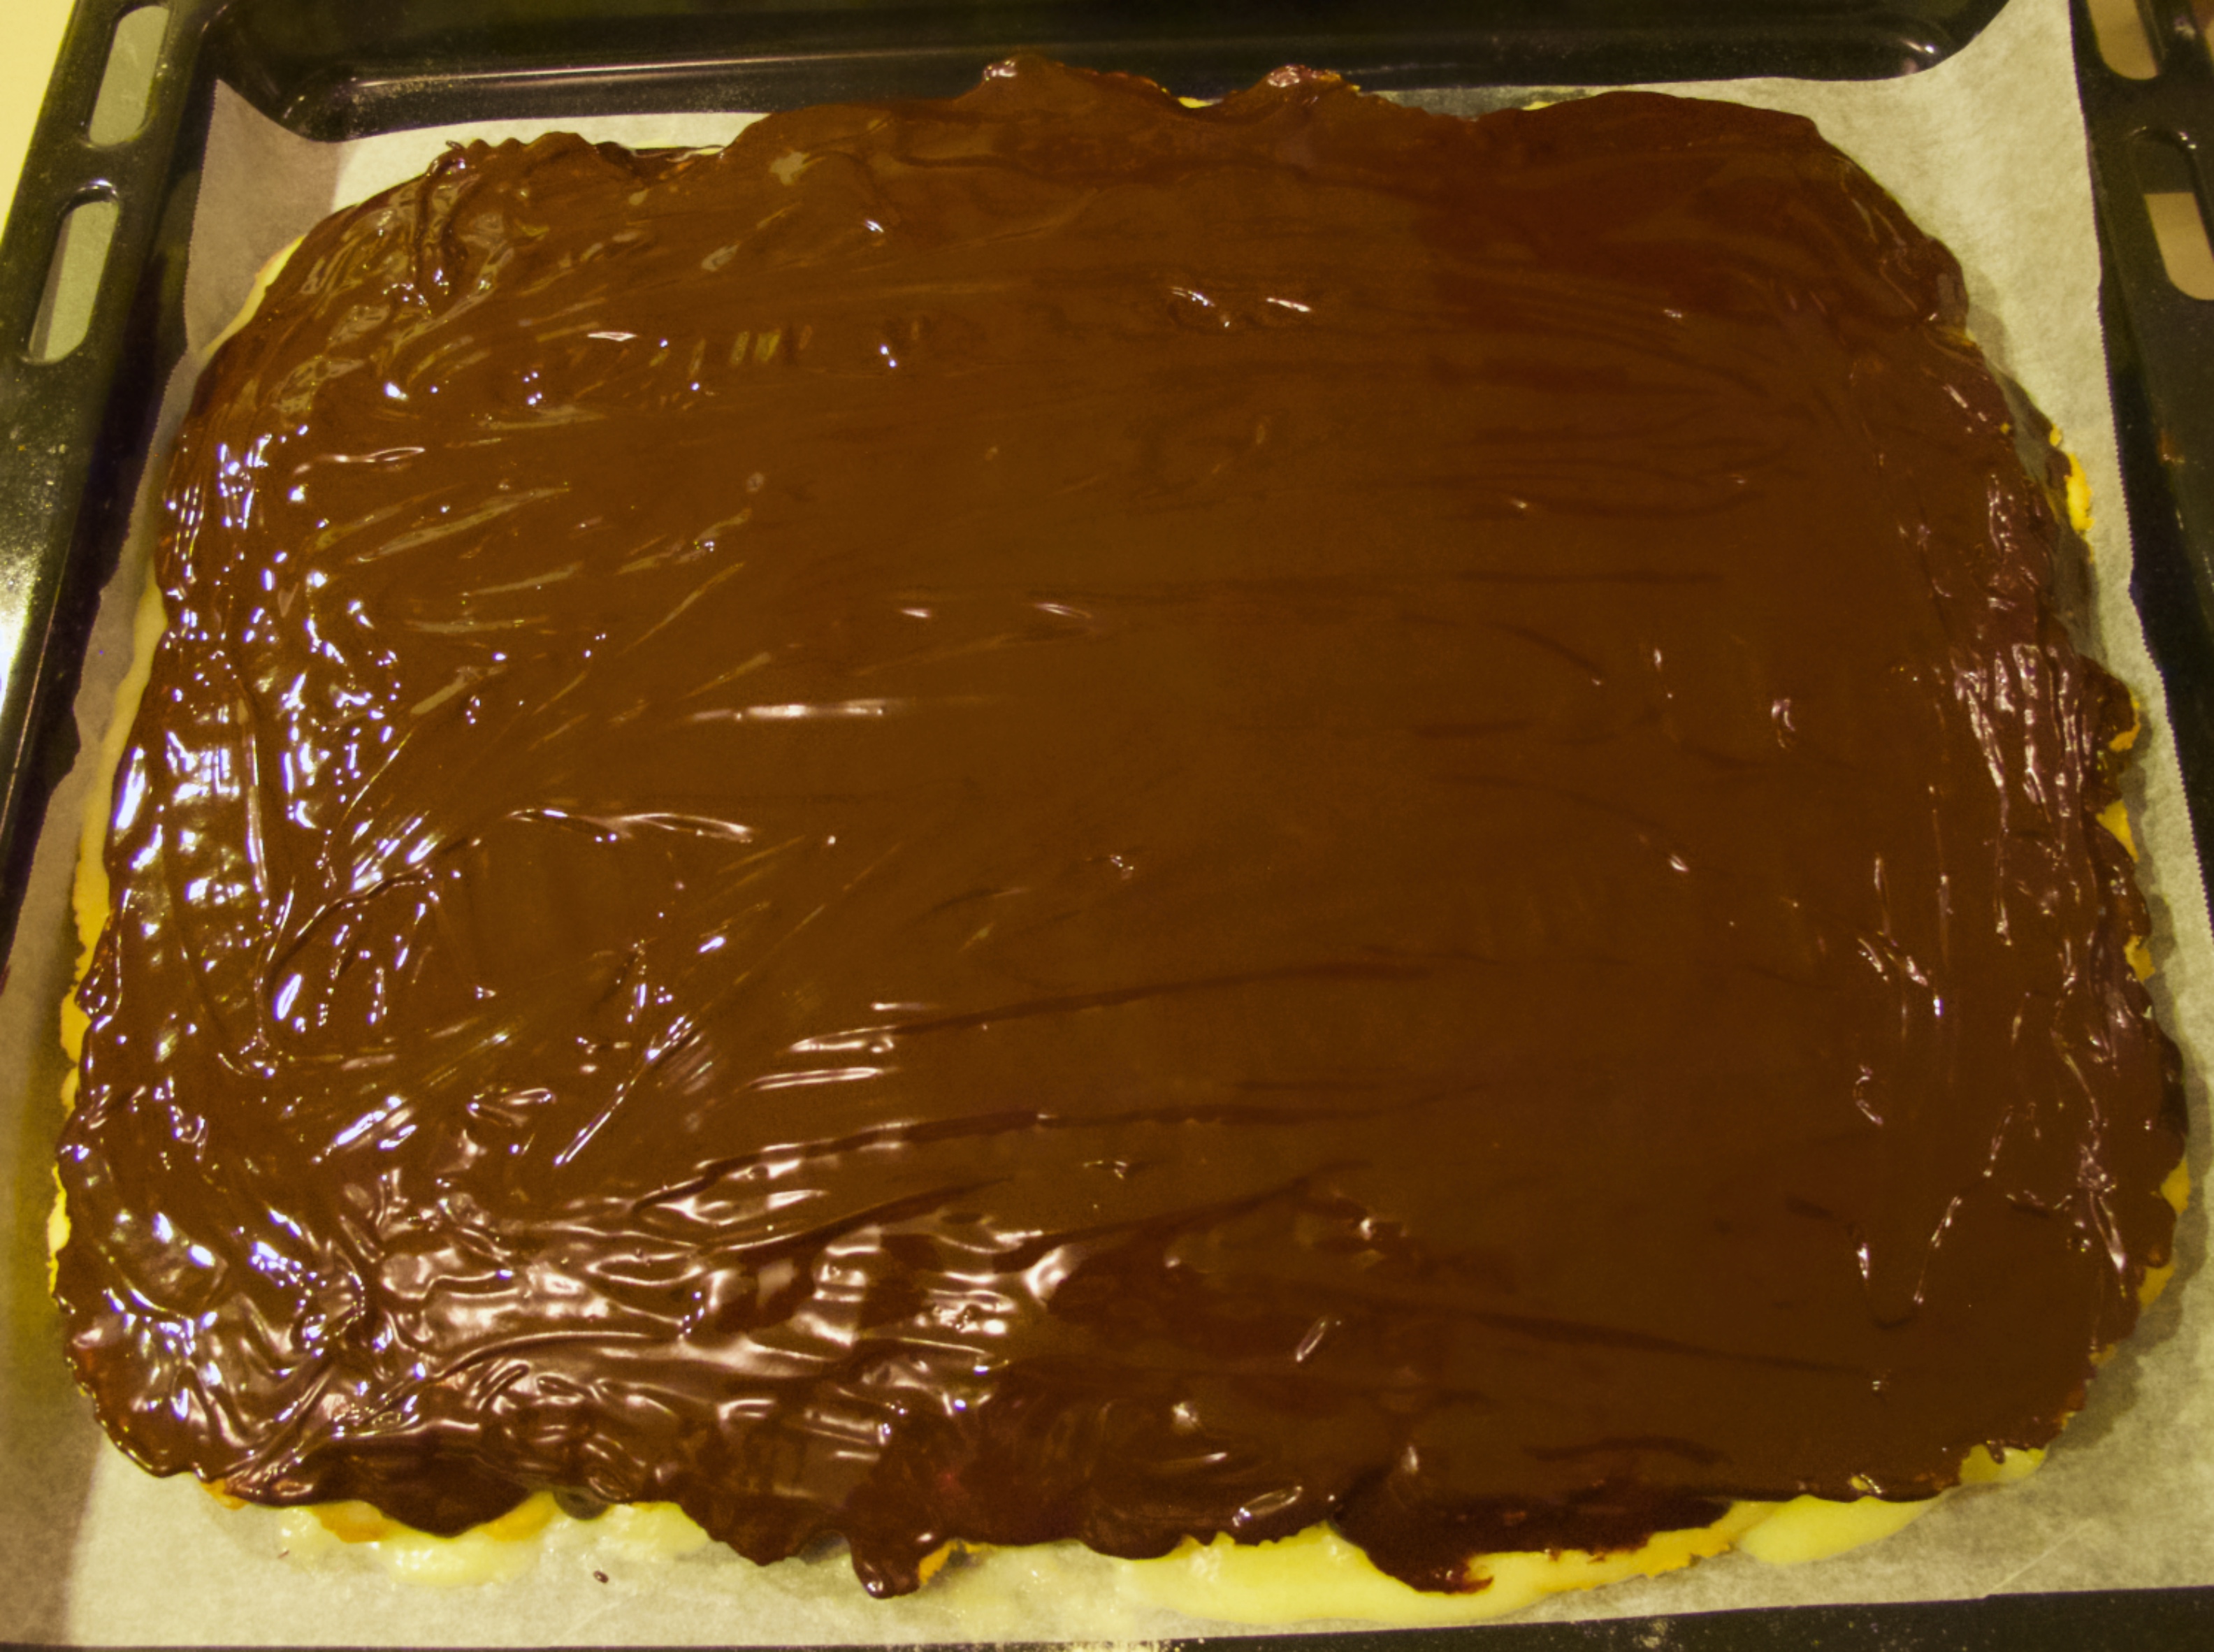
Now, the last and hardest step: leave it alone for 24 hours. Once the chocolate is solid, you can cover with foil.
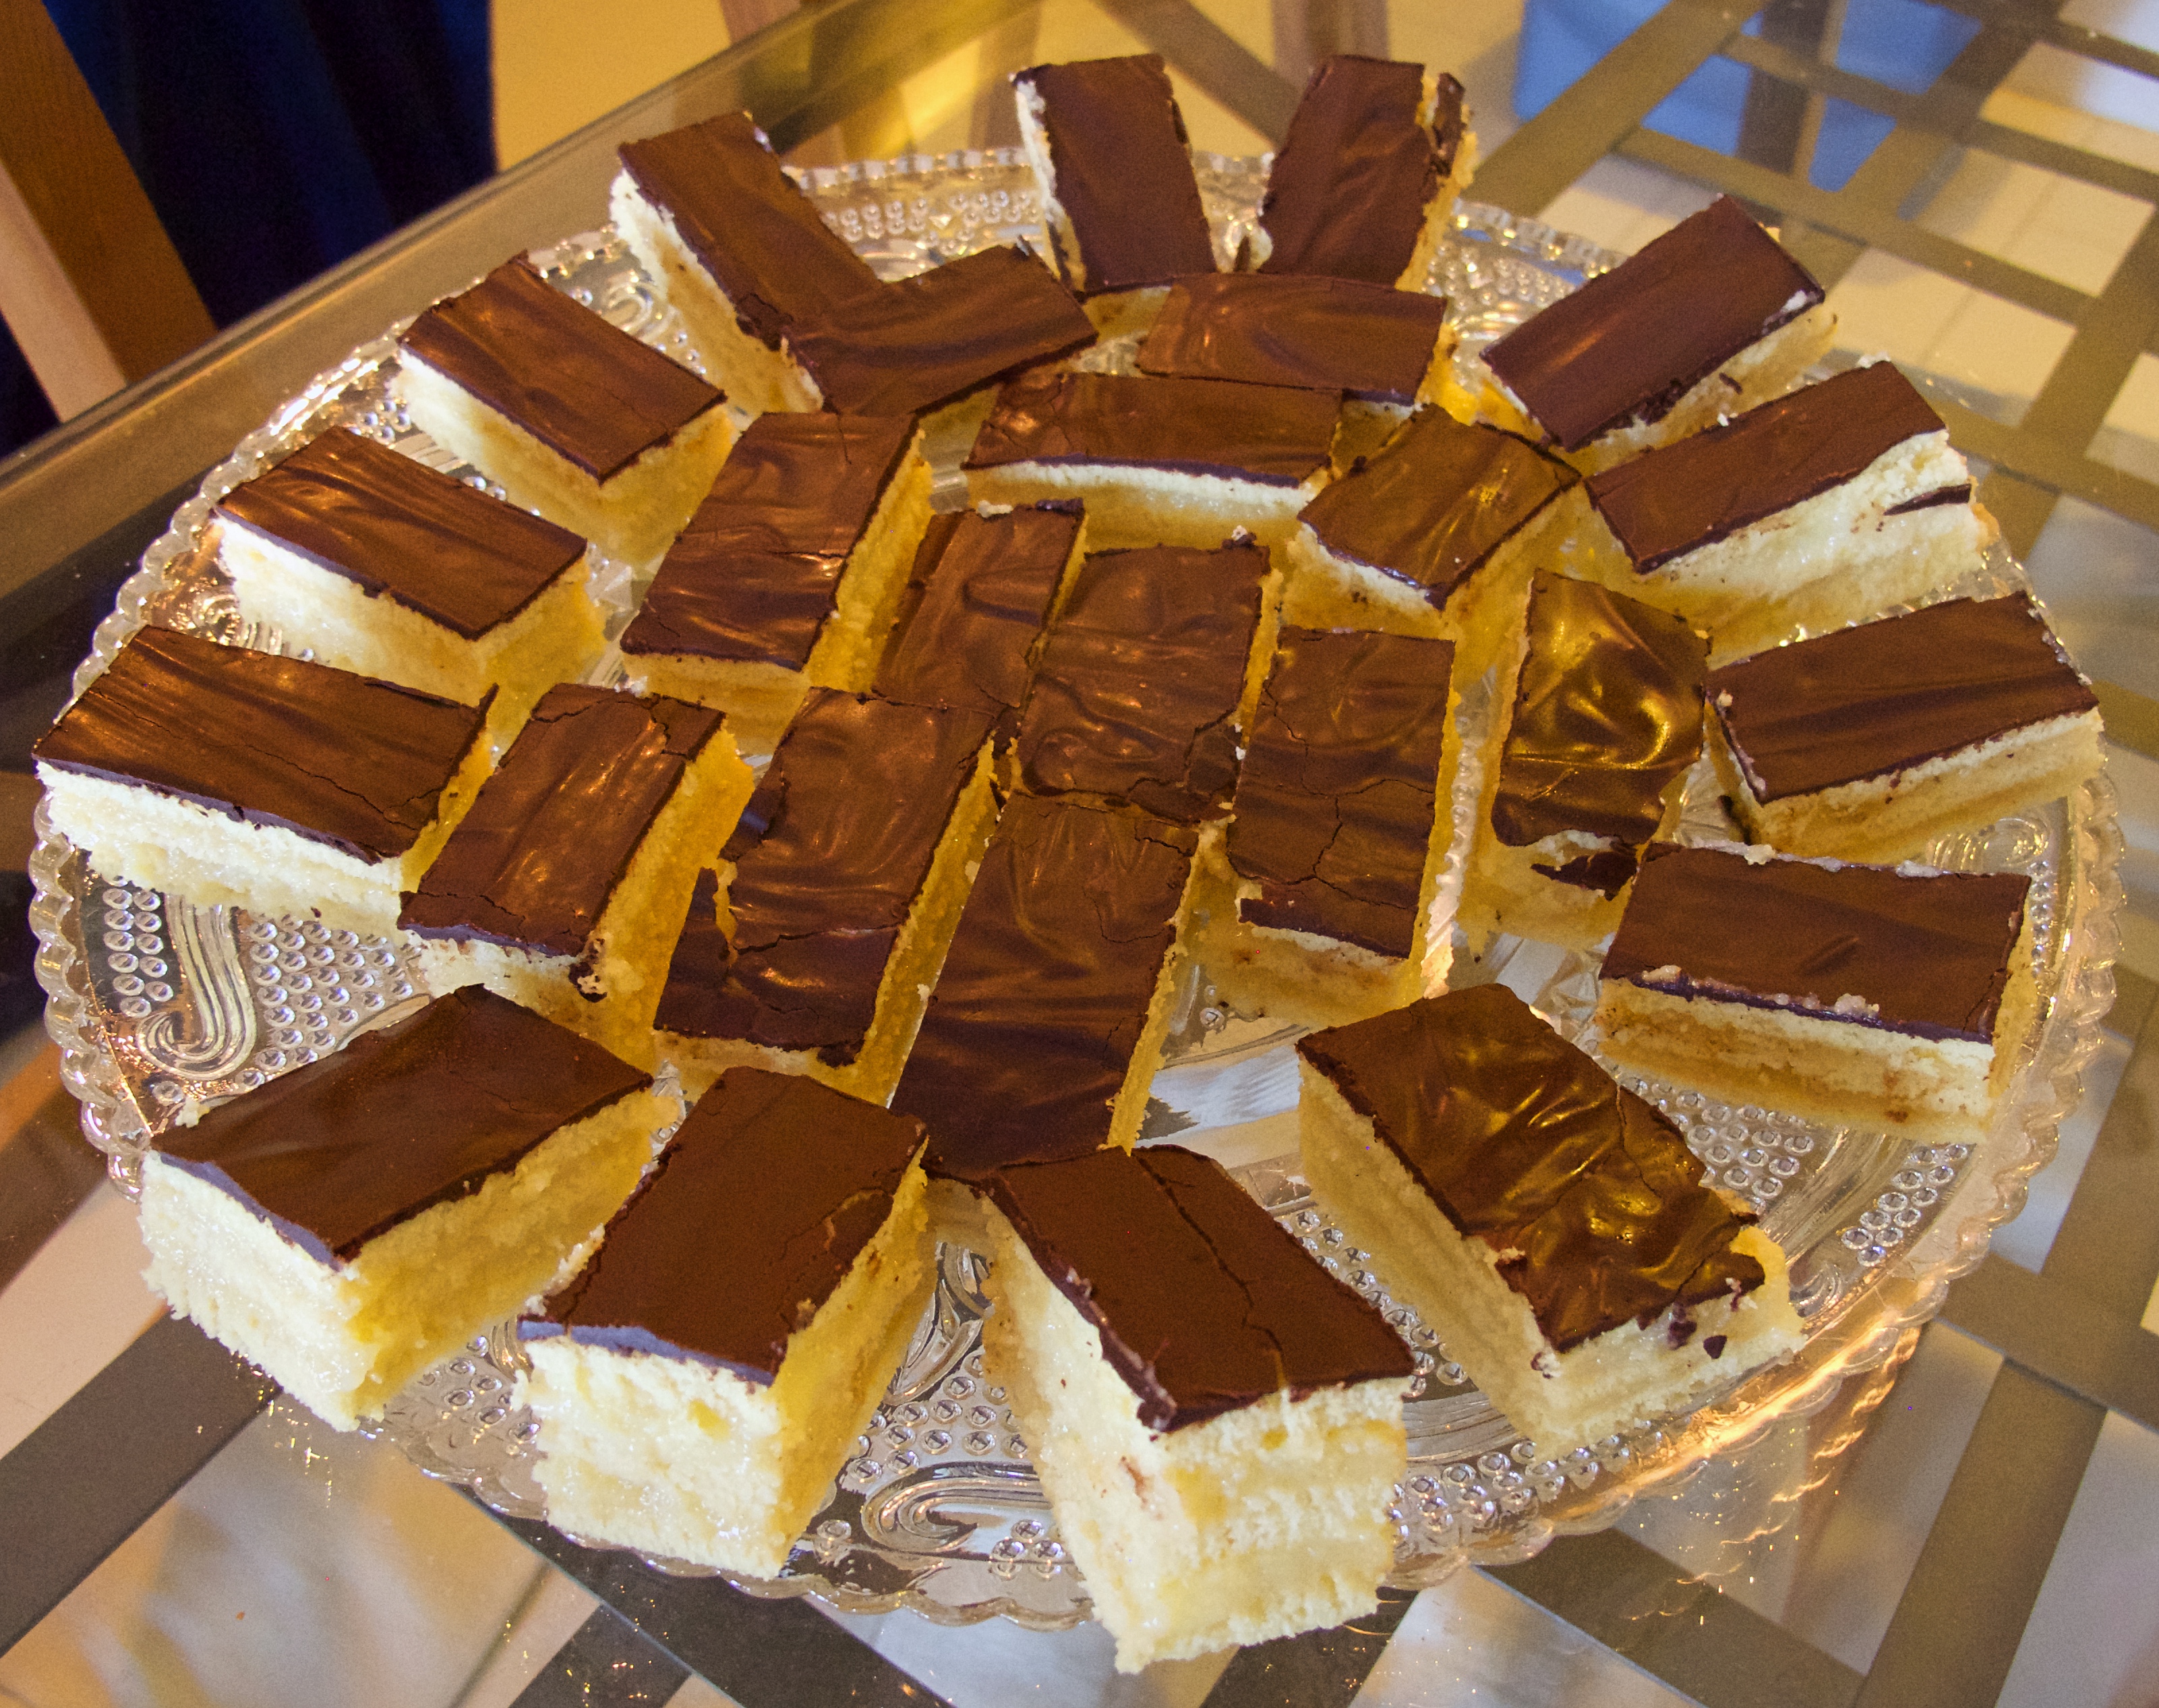
Cut into little rectangles to enjoy, and wow your friends/kids!
Looks delicious….would like YOU to make them for me one day!! (we have plans to visit Australia some time)