
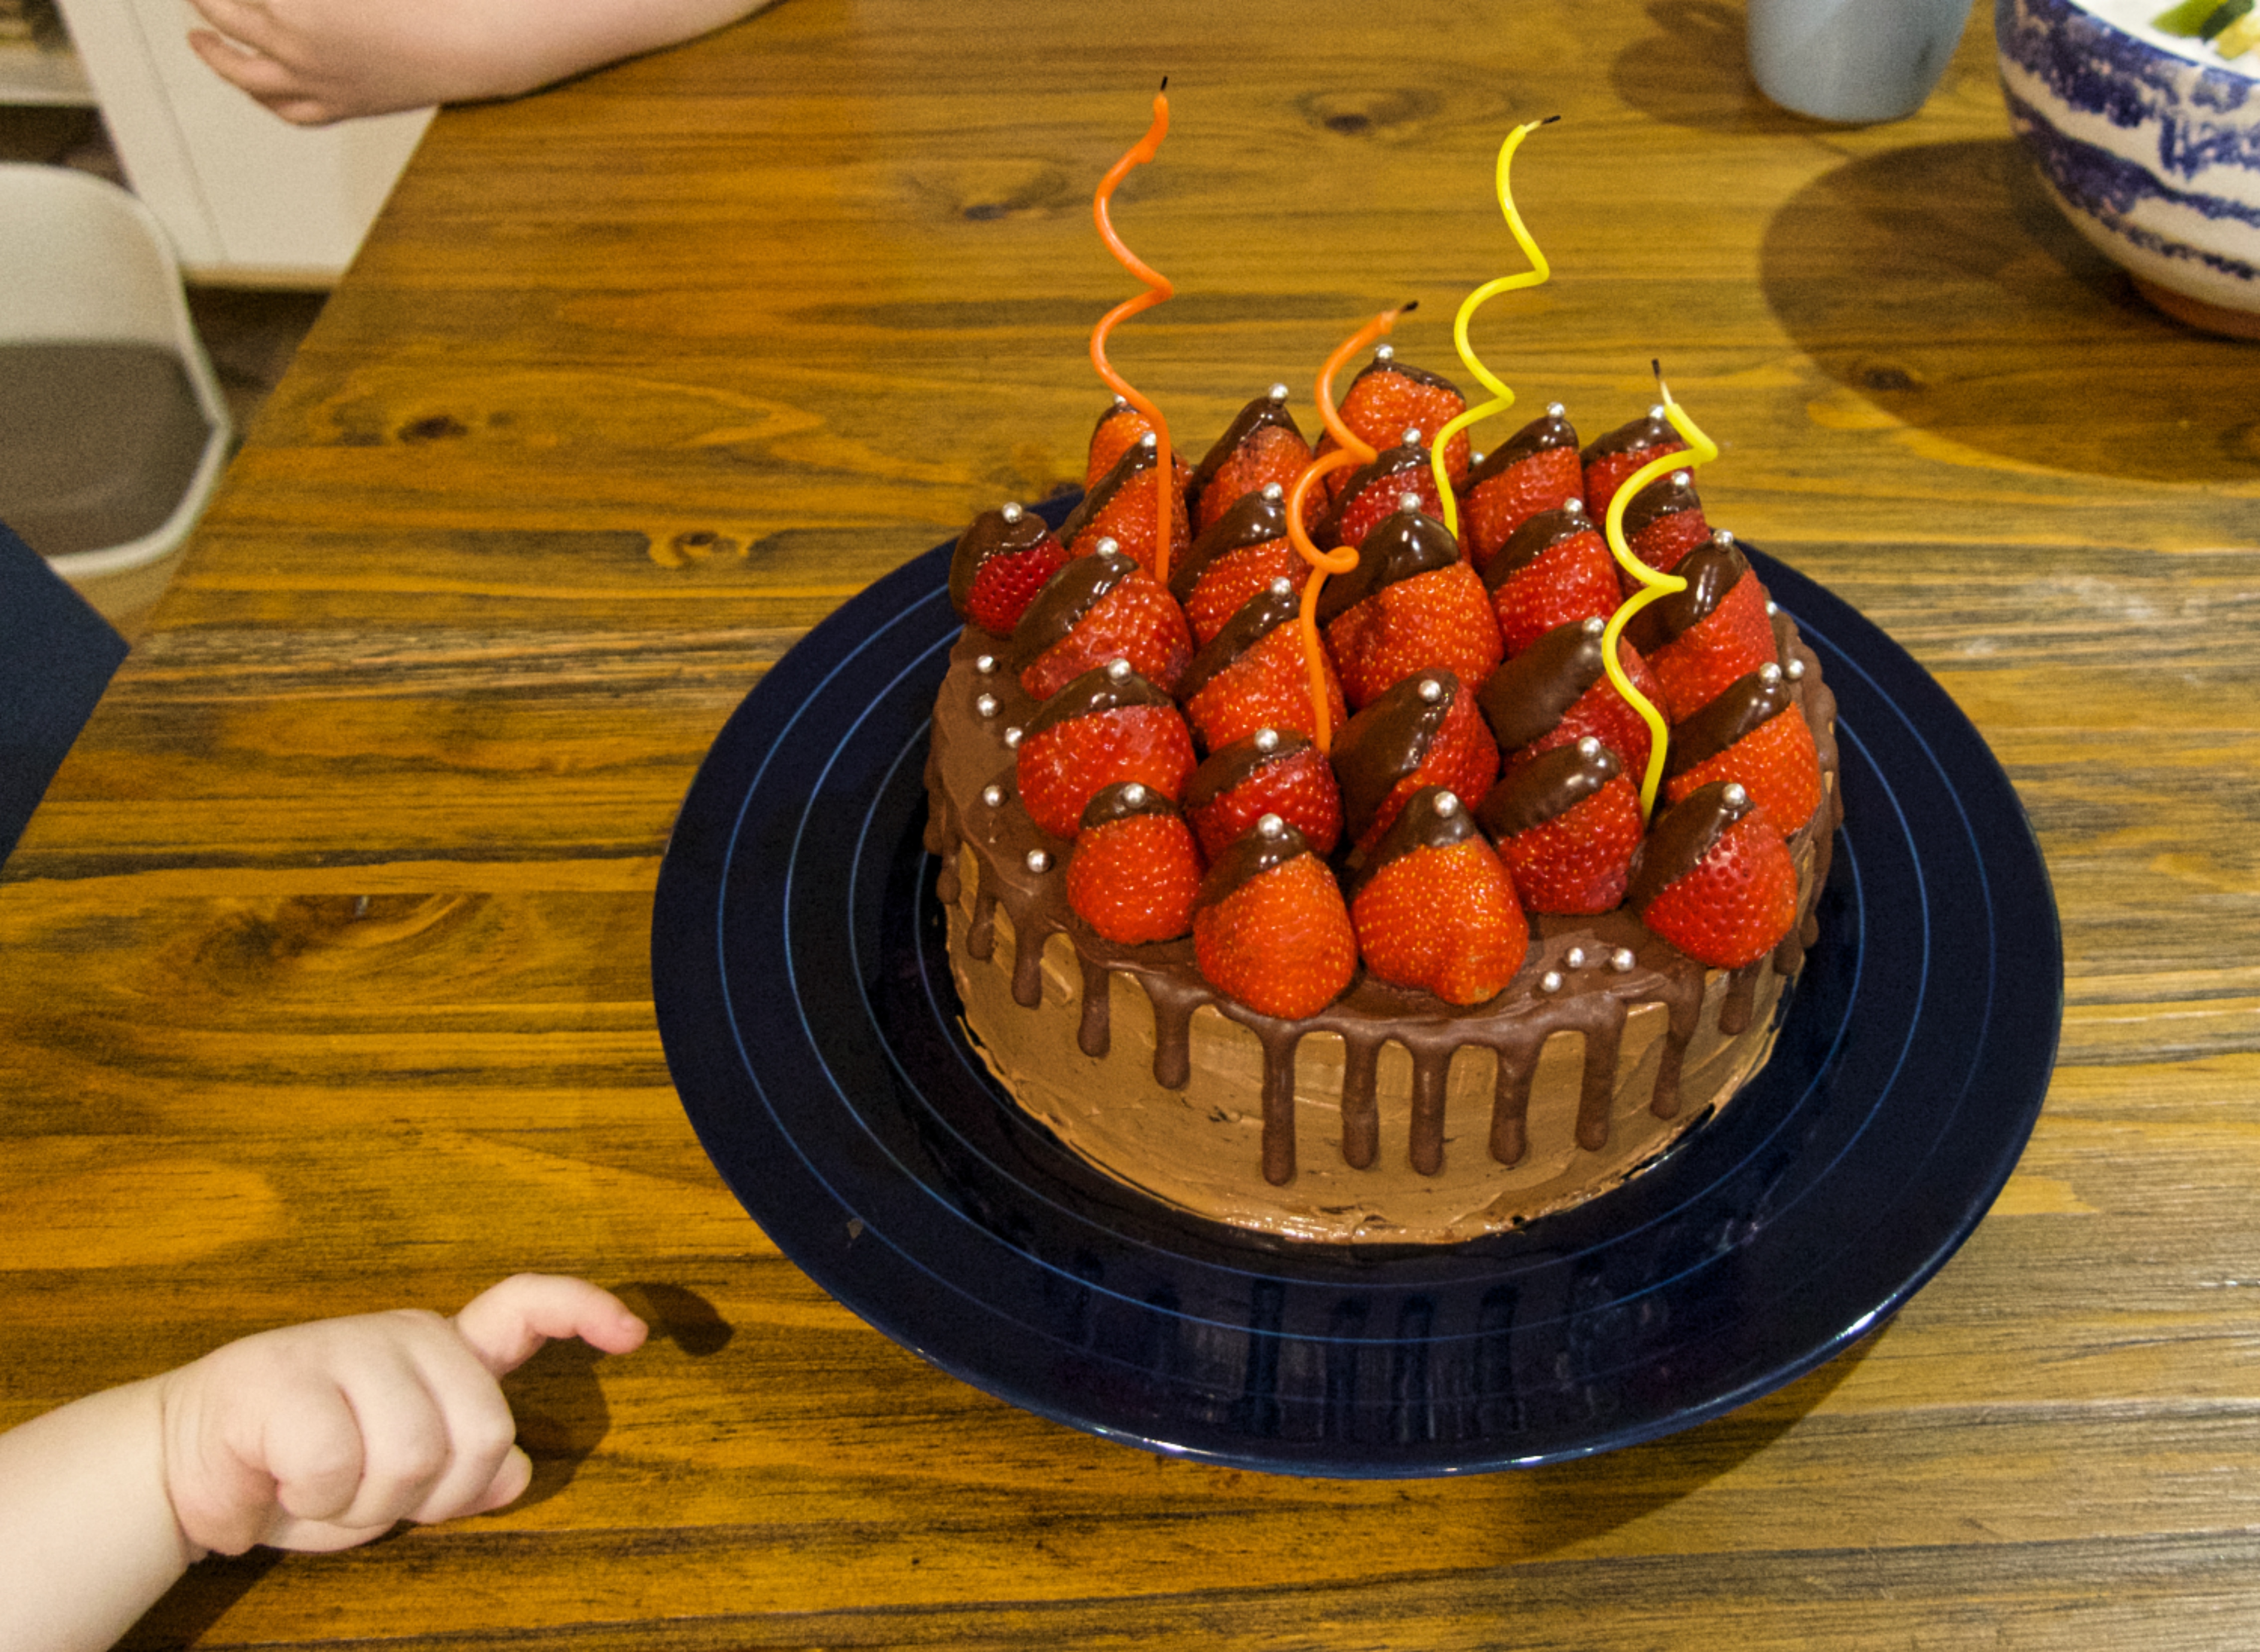
The cake, and Pixie’s little hand. He wants some!
TL/DR: Take your favourite chocolate cake with chocolate frosting. Add some coffee to everything and Bailey’s to the frosting. It works nicely!
Last weekend I half-improvised a birthday cake for a friend, and I was really happy with how the flavours turned out. My go-to chocolate cake is a less sweet version of Julia Child’s chocolate sponge, along with my take on her syrup-based butter cream. I’m not generally a coffee person, nor a Bailey’s person: I meant this cake for my birthday friend to like. To my surprise, I loved the hint of coffee and liqueur, and I also thought I got the sugar right, for once.
I wasn’t planning on writing this post, so I don’t have step-by-step pictures, only one of the finished product. I could have done a better job with the strawberry arrangement: I started in the middle and worked outward; had I started with a circle on the outside I’d have ended up with a better look. Oh well, I added some sugar beads to compensate.
This is not a whip-up-in-half-an-hour cake: from beginning to end it took me about 5 hours, and more fridge time would have been nice. If you’re baking for a special occasion, it has everything you need: chocolate, chocolate, chocolate, and a little flair! The sponge is easy to make, as long as you beat your egg whites well and don’t over-bake the layers. The butter cream is finicky; if your house is quite cool you could replace the base with this easier frosting, which you can scale up and then add the same flavours. The ganache is easy and the assembly is simple; this was my first time making a drip cake and dripping is super fun!
Ingredients:
Cake:
- 210g high quality chocolate (70% for a milk chocolate crowd, 85% if you’re serious about dark chocolate)
- 3 Tbs coffee (Not a coffee drinker? Instant is fine for baking.)
- 100g butter at room temperature (7 Tbs)
- 6 eggs, separated (that is, not a molecule of yolk in the whites)
- 130 g sugar (2/3 cup), plus 2 Tbs more
- pinch of salt
- 80 g flour (just under 3/4 cup), turned into a sifter or sieve (can’t skip sifting in this recipe)
Butter cream:
- 120 g high quality chocolate
- 340 g butter at room temperature (3 sticks plus a tablespoon)
- 6 egg yolks, or 1 egg plus 4 yolks
- 130 g sugar (2/3 cup)
- 60 ml water (1/4 cup)
- 2-3 Tbs Bailey’s
- 1-2 Tbs coffee
- candy thermometer, it’s doable but tricky otherwise
Ganache:
- 100 g high quality chocolate, cut or broken into small pieces (chopped is ideal, 1/4 squares are fine)
- 120 ml heavy whipping cream (1/2 cup)
- 1-2 Tbs Bailey’s
- 1 Tbs coffee
Decoration (optional):
- 20-25 strawberries, cleaned and dried
- 50 g good dark chocolate
- sugar pearls
- whatever else strikes your fancy
Method:
Make the cake:
- Line three 8-inch cake pans with parchment paper. (I only had two pans and baked the third layer after the first two came out. The bake quickly so even baking one by one would be ok.) Pre-heat oven to 180 C (350 F).
- Place the chocolate and coffee in a microwave-safe bowl and heat on 50% power in 30-sec intervals until the chocolate is melted. Stir between each heating interval, and go down to 15-20 sec if it’s close to melted. Chocolate is delicate, always melt it gently and be careful not to overheat. An alternative way is to use a double-boiler with barely simmering water at the bottom. When the chocolate is melted, beat in the butter with a small spatula.
- Beat the egg yolks in a mixer (with KitchenAid or similar, use the paddle attachment). Gradually add the 130 g sugar and beat on high speed until it’s pale yellow and forms a ribbon. (That is, pick up some of the mixture with a spoon, drizzle it back over the rest. Does it form a slowly dissolving ribbon?)
- Beat the egg whites with the pinch of salt in a separate, clean, dry bowl with the whisk attachment on high speed. When soft peaks form, sprinkle on the 2Tbs sugar (this will help stabilise the foam). Continue beating until stiff peaks form.
- Fold the tepid chocolate mixture into the yolk mixture. Then add 1/4 of the egg whites and sift on 1/4 of the flour. Fold gently until partially blended, and keep alternately adding egg whites and flour until all incorporated. Be gentle with the egg whites and don’t over-mix: small egg white chunks are fine.
- Split the batter evenly between the three prepared cake pans. Bake in the middle level of pre-heated oven for… I can’t remember but around 15 minutes? Watch closely, and test in the middle of the cake with a pin or fork when it looks just barely done. The pin should come out oily with a few specks of chocolate stuck to it.
- Out of the oven, let the cakes cool for a few minutes, then turn them onto a rack to cool completely.
Make the butter cream:
- Melt the chocolate gently as before.
- In the mixer cream the butter with the paddle attachment until light and fluffy.
- In a separate bowl, beat the egg yolks (or egg and yolks) until well blended.
- Boil the sugar with the water, shaking the pan often, until it reaches the soft ball stage (114 C or 236-238 F). If you don’t have a candy thermometer, you can drop a bit of the syrup in cold water: it’s done when it forms a soft ball. That’s hotter than ribbon but less hot than hard ball.
- Immediately beat the hot syrup into the eggs in a thin stream of droplets (if you pour it in all at once, you’ll get scrambled eggs).
- Over a pot of simmering water on low heat, continue beating the yolk-syrup mixture with a whisk at moderate speed, lifting in lots of air. In 4-5 minutes the mixture should be light, foamy, and have more volume (Julia says doubled in bulk, but mine has never doubled). It should be very hot to your finger; for food safety 160 F / 71 C on the candy thermometer. Make sure you reach to the bottom everywhere with the whisk, otherwise you get sugar frittata.
- Beat the egg mixture by spoonfuls into the creamed butter; it’s best to go back to the paddle attachment at this stage.
- Fold in the Bailey’s, coffee, and melted chocolate.
Assemble the cake:
- If your butter cream is very soft, put it in the fridge for 10-30 minutes, stirring often to make sure you don’t get solid lumps in it. Make sure that your cake layers have cooled to room temperature completely, and level the tops with a bread knife if they are not flat.
- Fill and ice the cake. An offset spatula is your best friend! Put your first layer on the plate or cake board. From a pastry bag with large round tip (or zip-loc bag with a 1-inch piece cut off of the corner), pipe a ring of butter cream around the edge – this is called the dam technique and it’s very handy. Fill in the middle with the spatula. Put on the second layer and repeat. Add the third layer. Now spread a thin layer of butter cream on top and around the slides, evening out any imperfections: this is called a crumb coat. Try to create a sharp edge around the top.
- Place the cake in the fridge for half an hour, or the freezer for 15 minutes.
- Add a second coating of butter cream to the outside to reach the desired thickness, maintaining the sharp edge.
- Put the cake back in the fridge for a couple of hours, or in the freezer for at least half an hour. The butter cream on the outside needs to be cold and firm.
Make the ganache:
- Place the chocolate in a bowl. In a small pot or in the microwave, almost bring the cream to a boil, but stop just short. Add the hot cream to the chocolate and let sit for a minute, then stir or whisk together gently to get a smooth ganache. Add the flavourings and again stir gently. (The ganache can sometimes seize: the fat in it separates and it becomes a lumpy mess. You can fix this by adding more cream or liquid, one tablespoon at a time, and stirring slowly. Don’t beat a ganache.)
Decorate the cake:
- First, add the drips on the side. The ganache needs to be just above room temperature for this, and the butter cream well chilled, at least on the outside. Spoon some ganache into a pastry bag with small round tip, or into a zip-loc bag and cut a small corner off. Start with a test drip off the cake edge, and see if it runs as long as you like it. If the ganache is too liquid, you need to cool it; if it’s too thick, warm it up. Once you get the right temperature, squeeze out the drips all around the side. Then spread more ganache around the top of the cake with the spatula.
- For the strawberry decoration, melt some more chocolate, and dip the strawberries into it. (You can also dip into leftover ganache if you don’t mind that the chocolate coating stays a bit soft). Arrange the strawberries on the cake. I worked from the middle out, a mistake: I’d suggest starting with a circle on the edge and working inwards. On the other hand, I think all the dipped parts facing the same way was a neat look. I added some sugar pearls, and birthday candles.
Enjoy! And feel free to share your favourite spin on a classic chocolate cake!